Getting Started
Follow the steps below to deploy and connect to your first Hyperstack virtual machine.
Before Getting Started
-
Register for a Hyperstack account: Sign up at https://console.hyperstack.cloud.
-
Sign in: Use your login credentials to access your Hyperstack account.
-
Activate your account: Complete the billing information form here.
-
Add credit: Add credit to your account to enable virtual machine creation here.
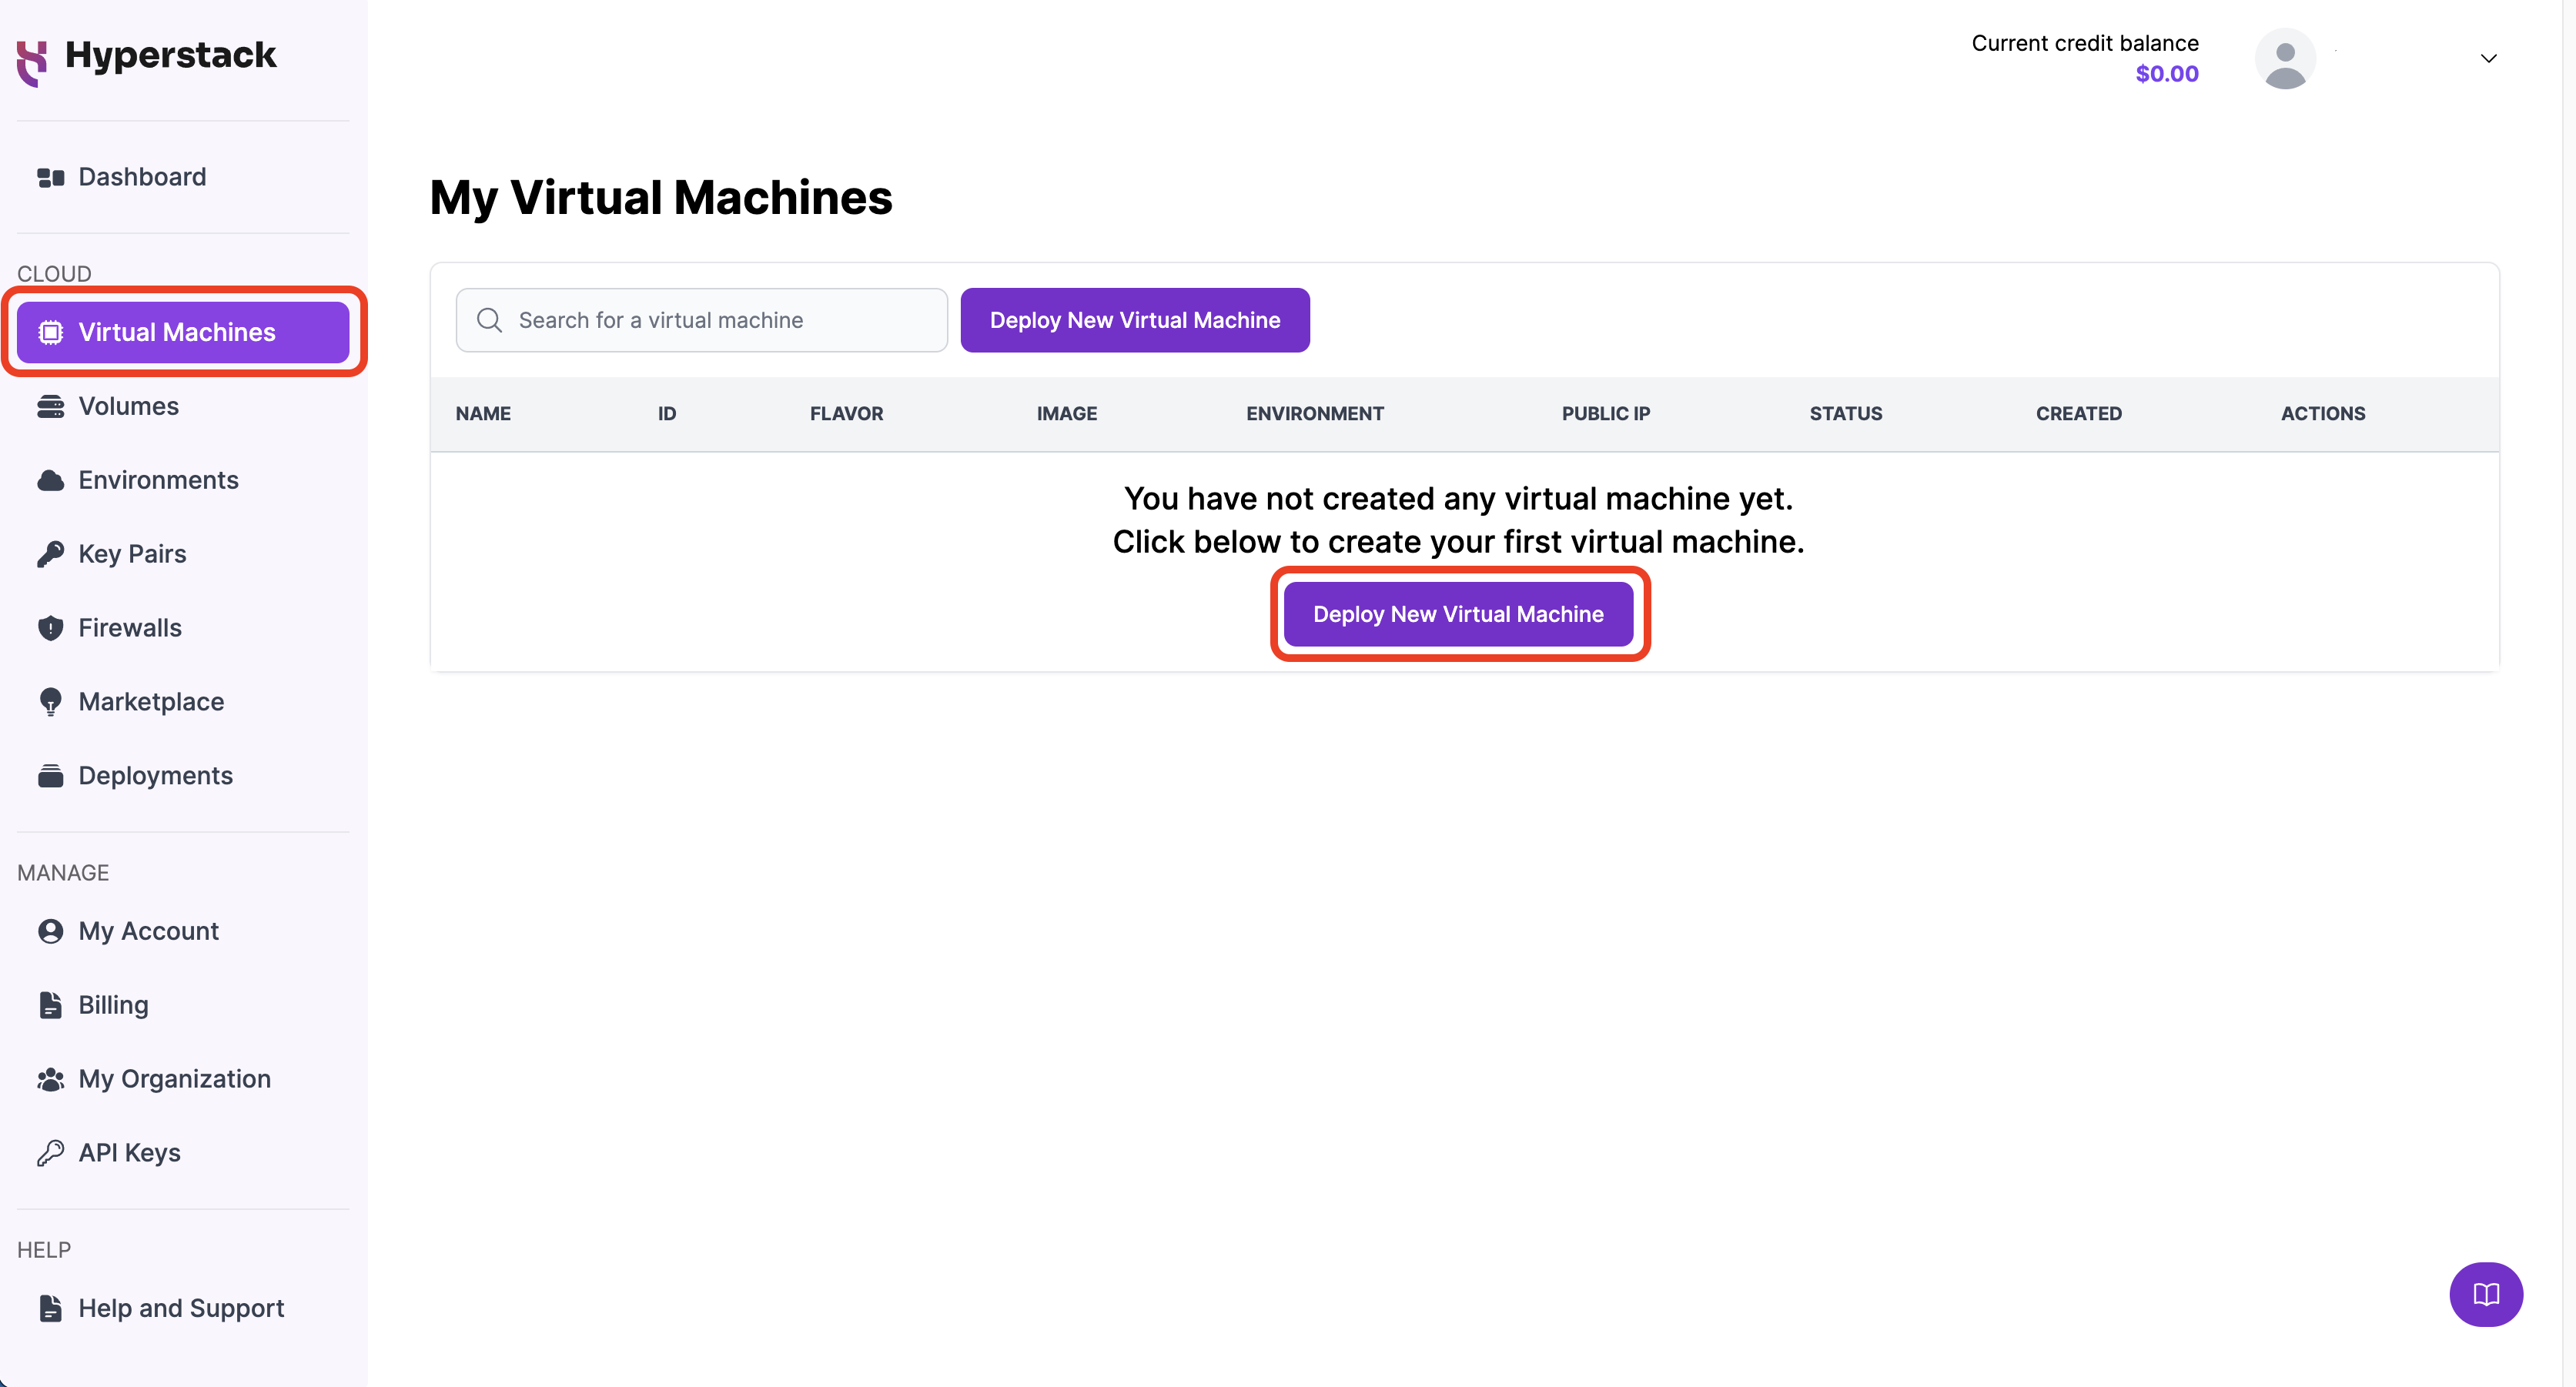
Deploy a new virtual machine
Navigate to the 'Virtual Machines' section in Hyperstack, and click 'Deploy New Virtual Machine'.
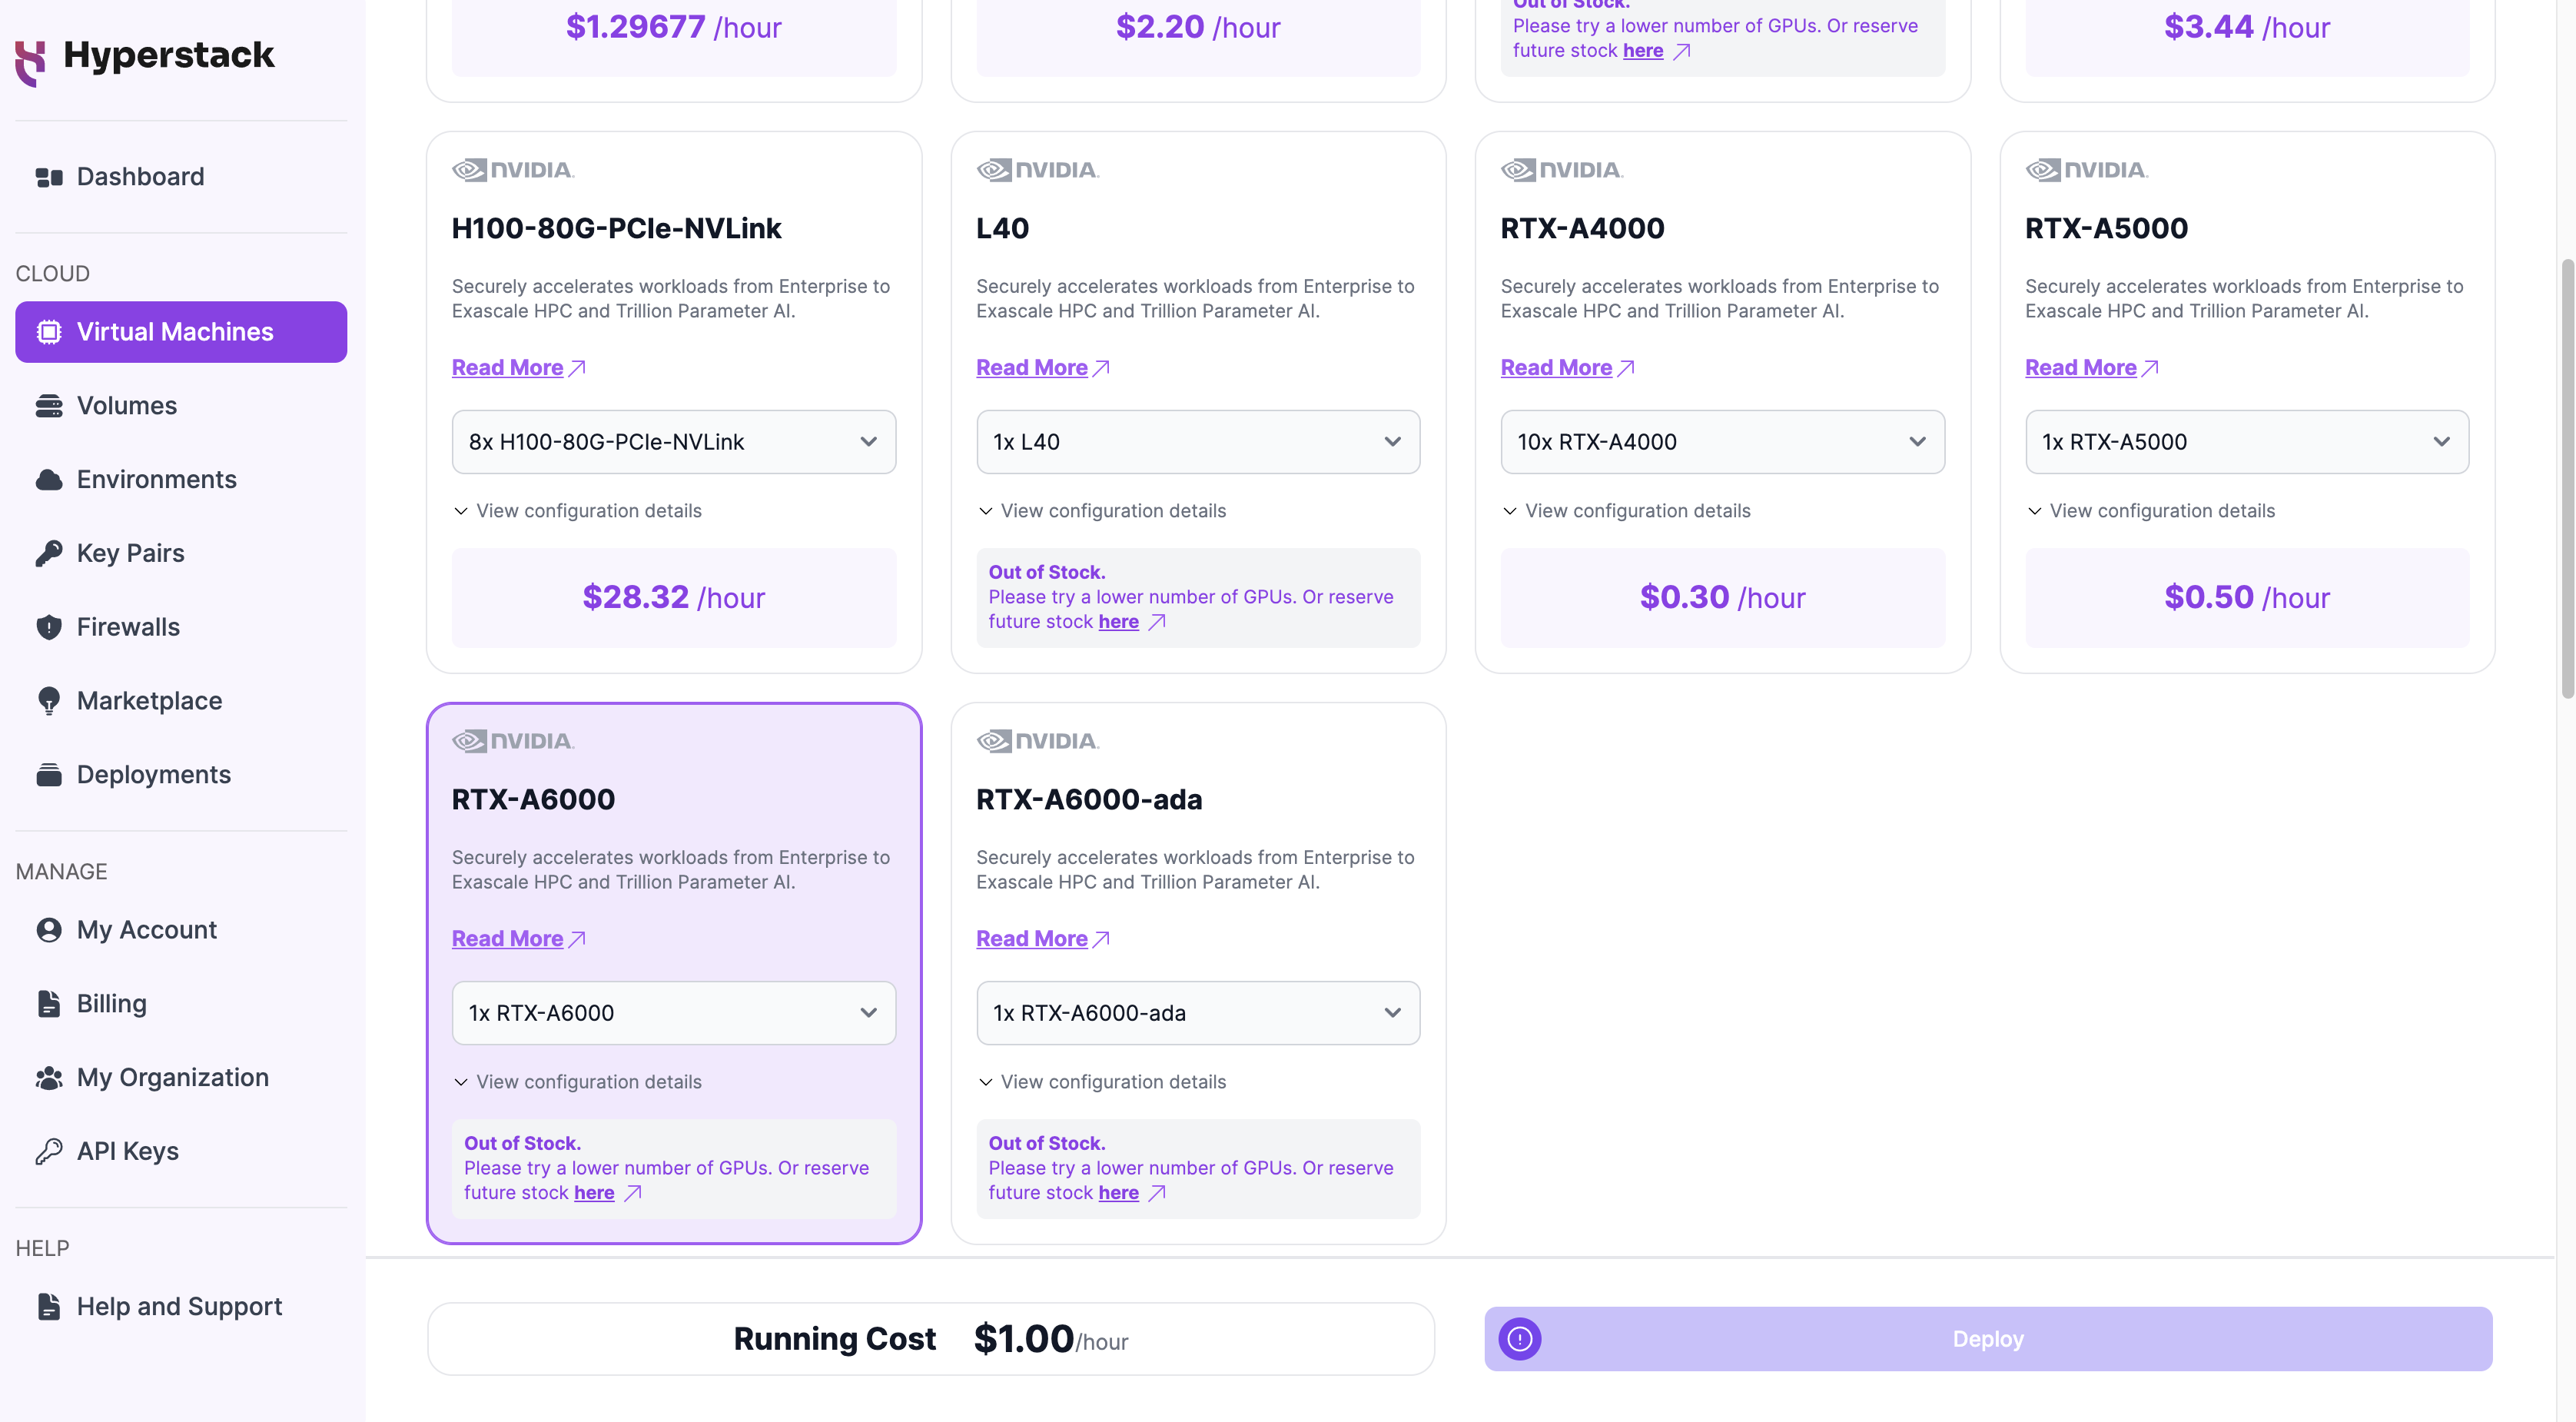
Choose GPU flavor
Flavors determine the hardware configuration for your virtual machine, including the GPU model and quantity, CPUs, RAM, and disk storage capacity for the VM. Choose the flavor with the specifications that meet the demands of your workload. To learn more about Hyperstack flavors, click here.
- Recommended flavor: 1x RTX-A6000 if you have moderate GPU requirements.
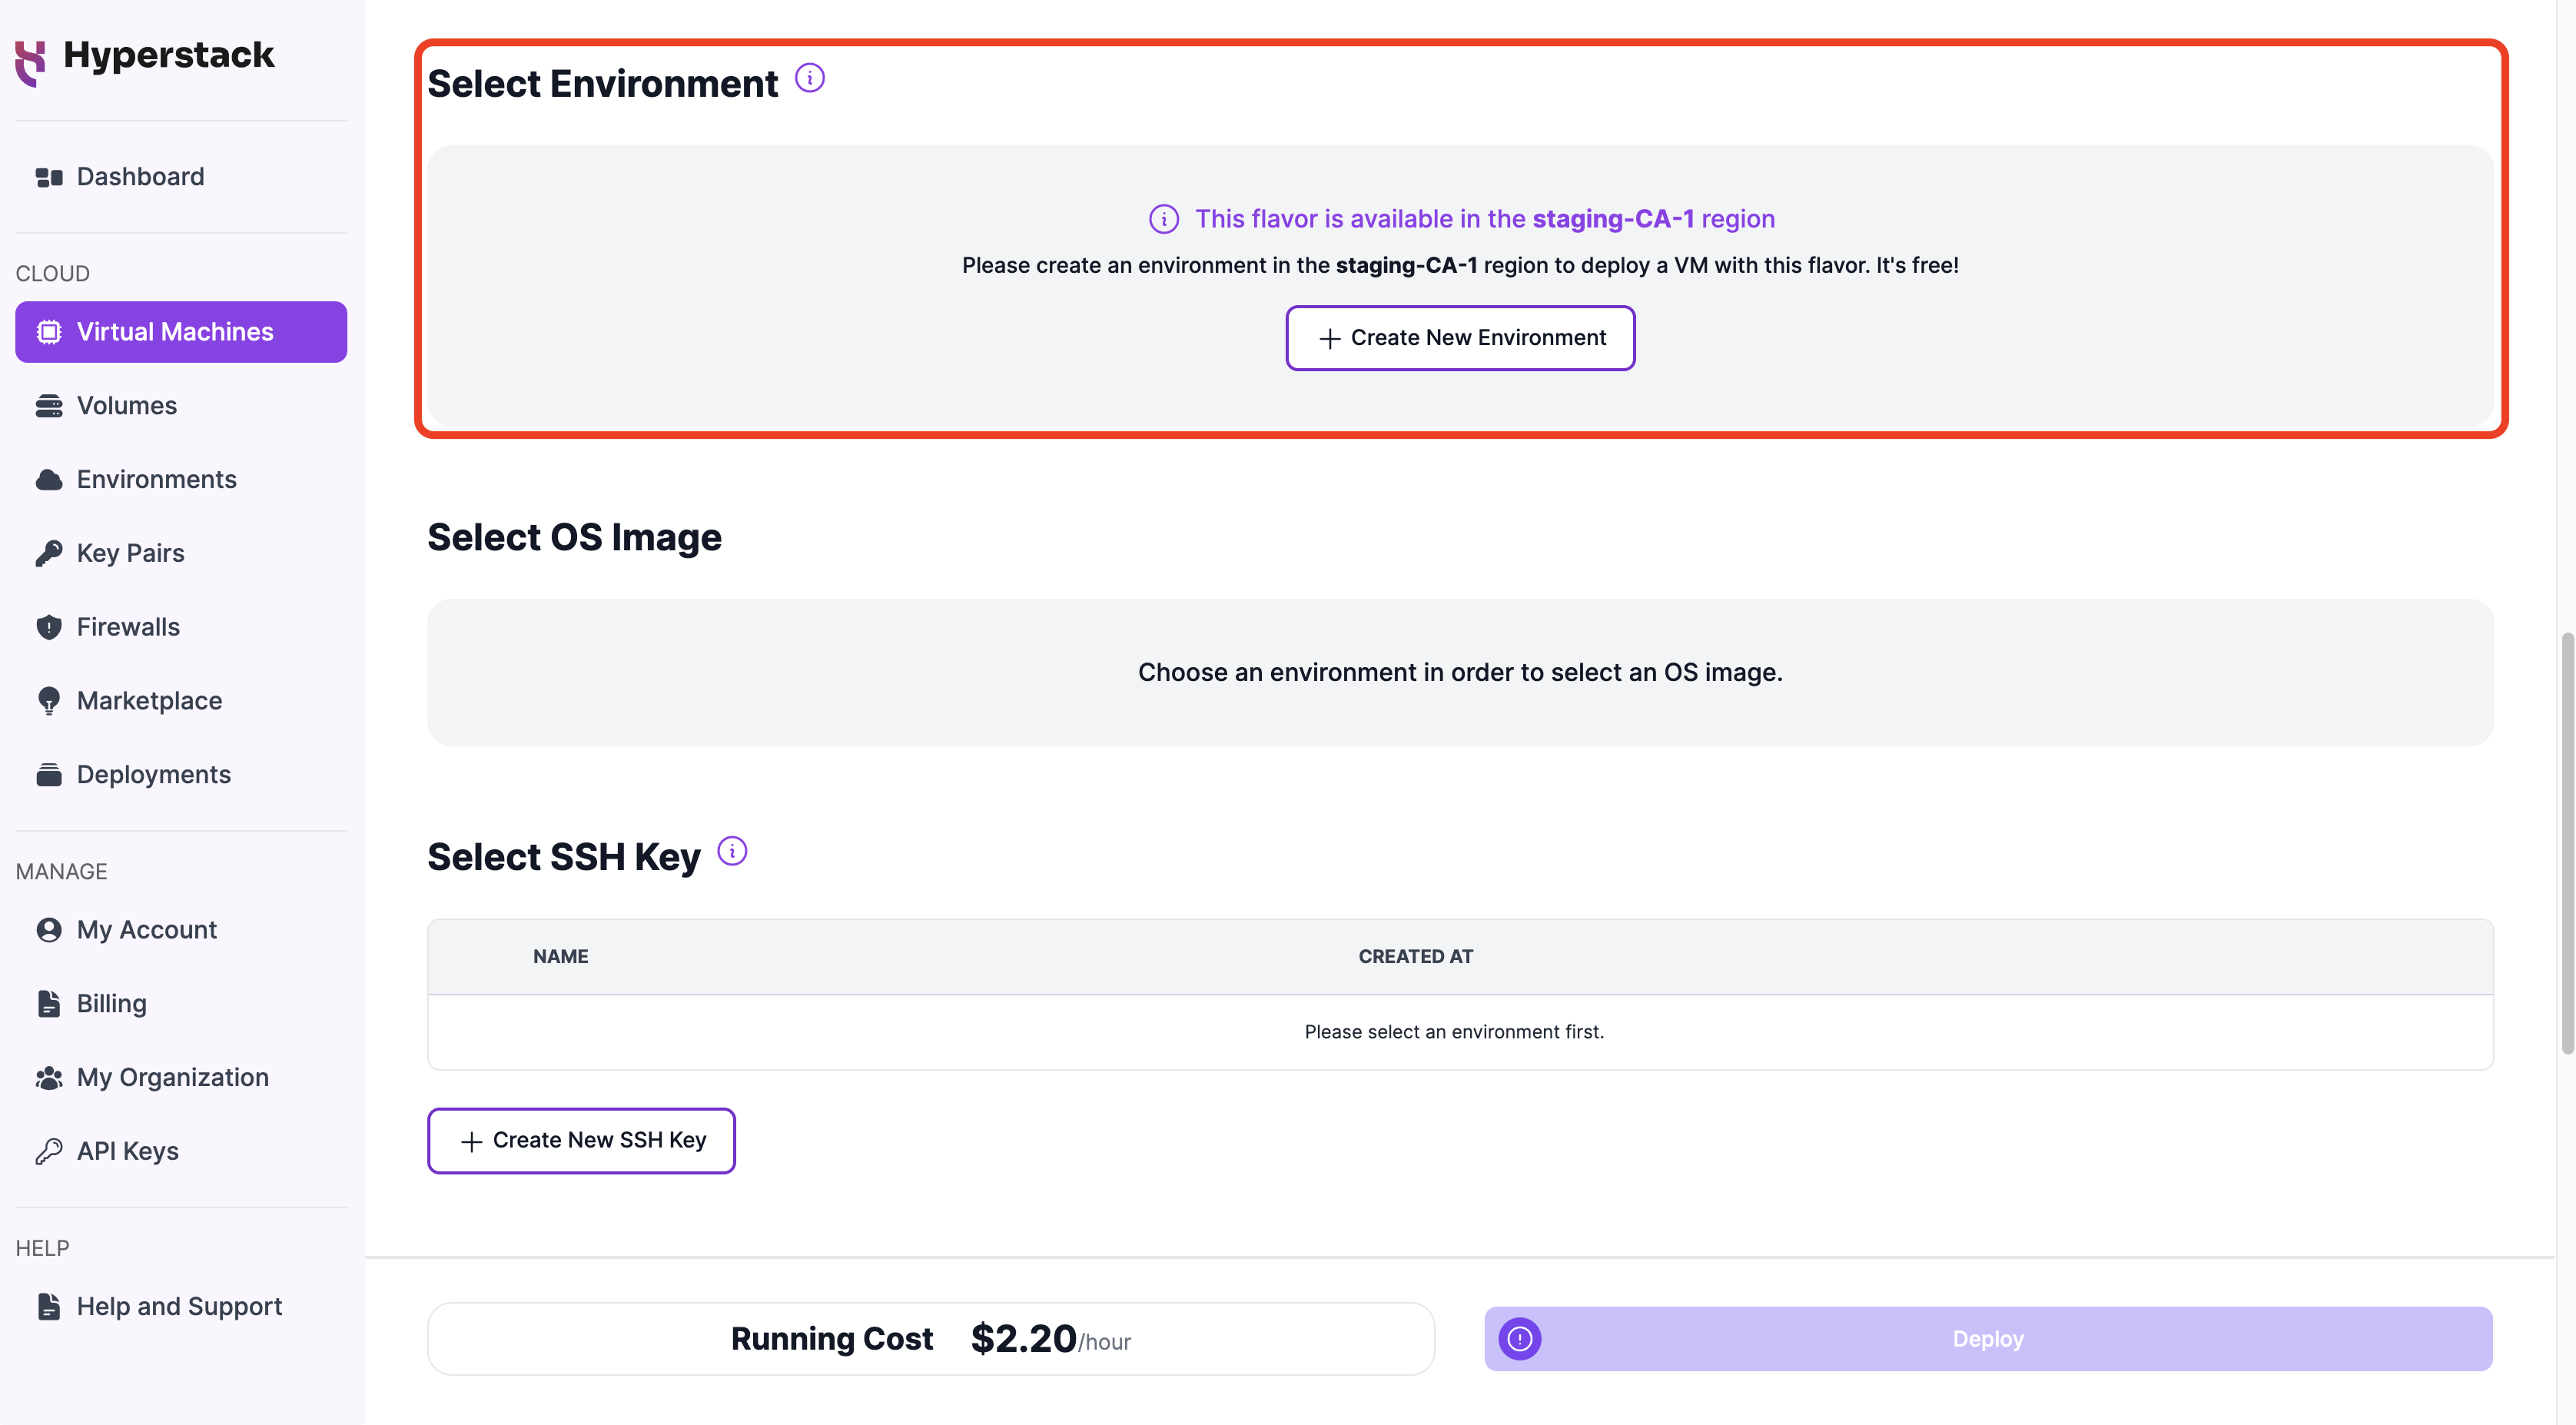
Create an environment
Create an environment where your virtual machine and other resources will be deployed. To learn more about environments, click here.
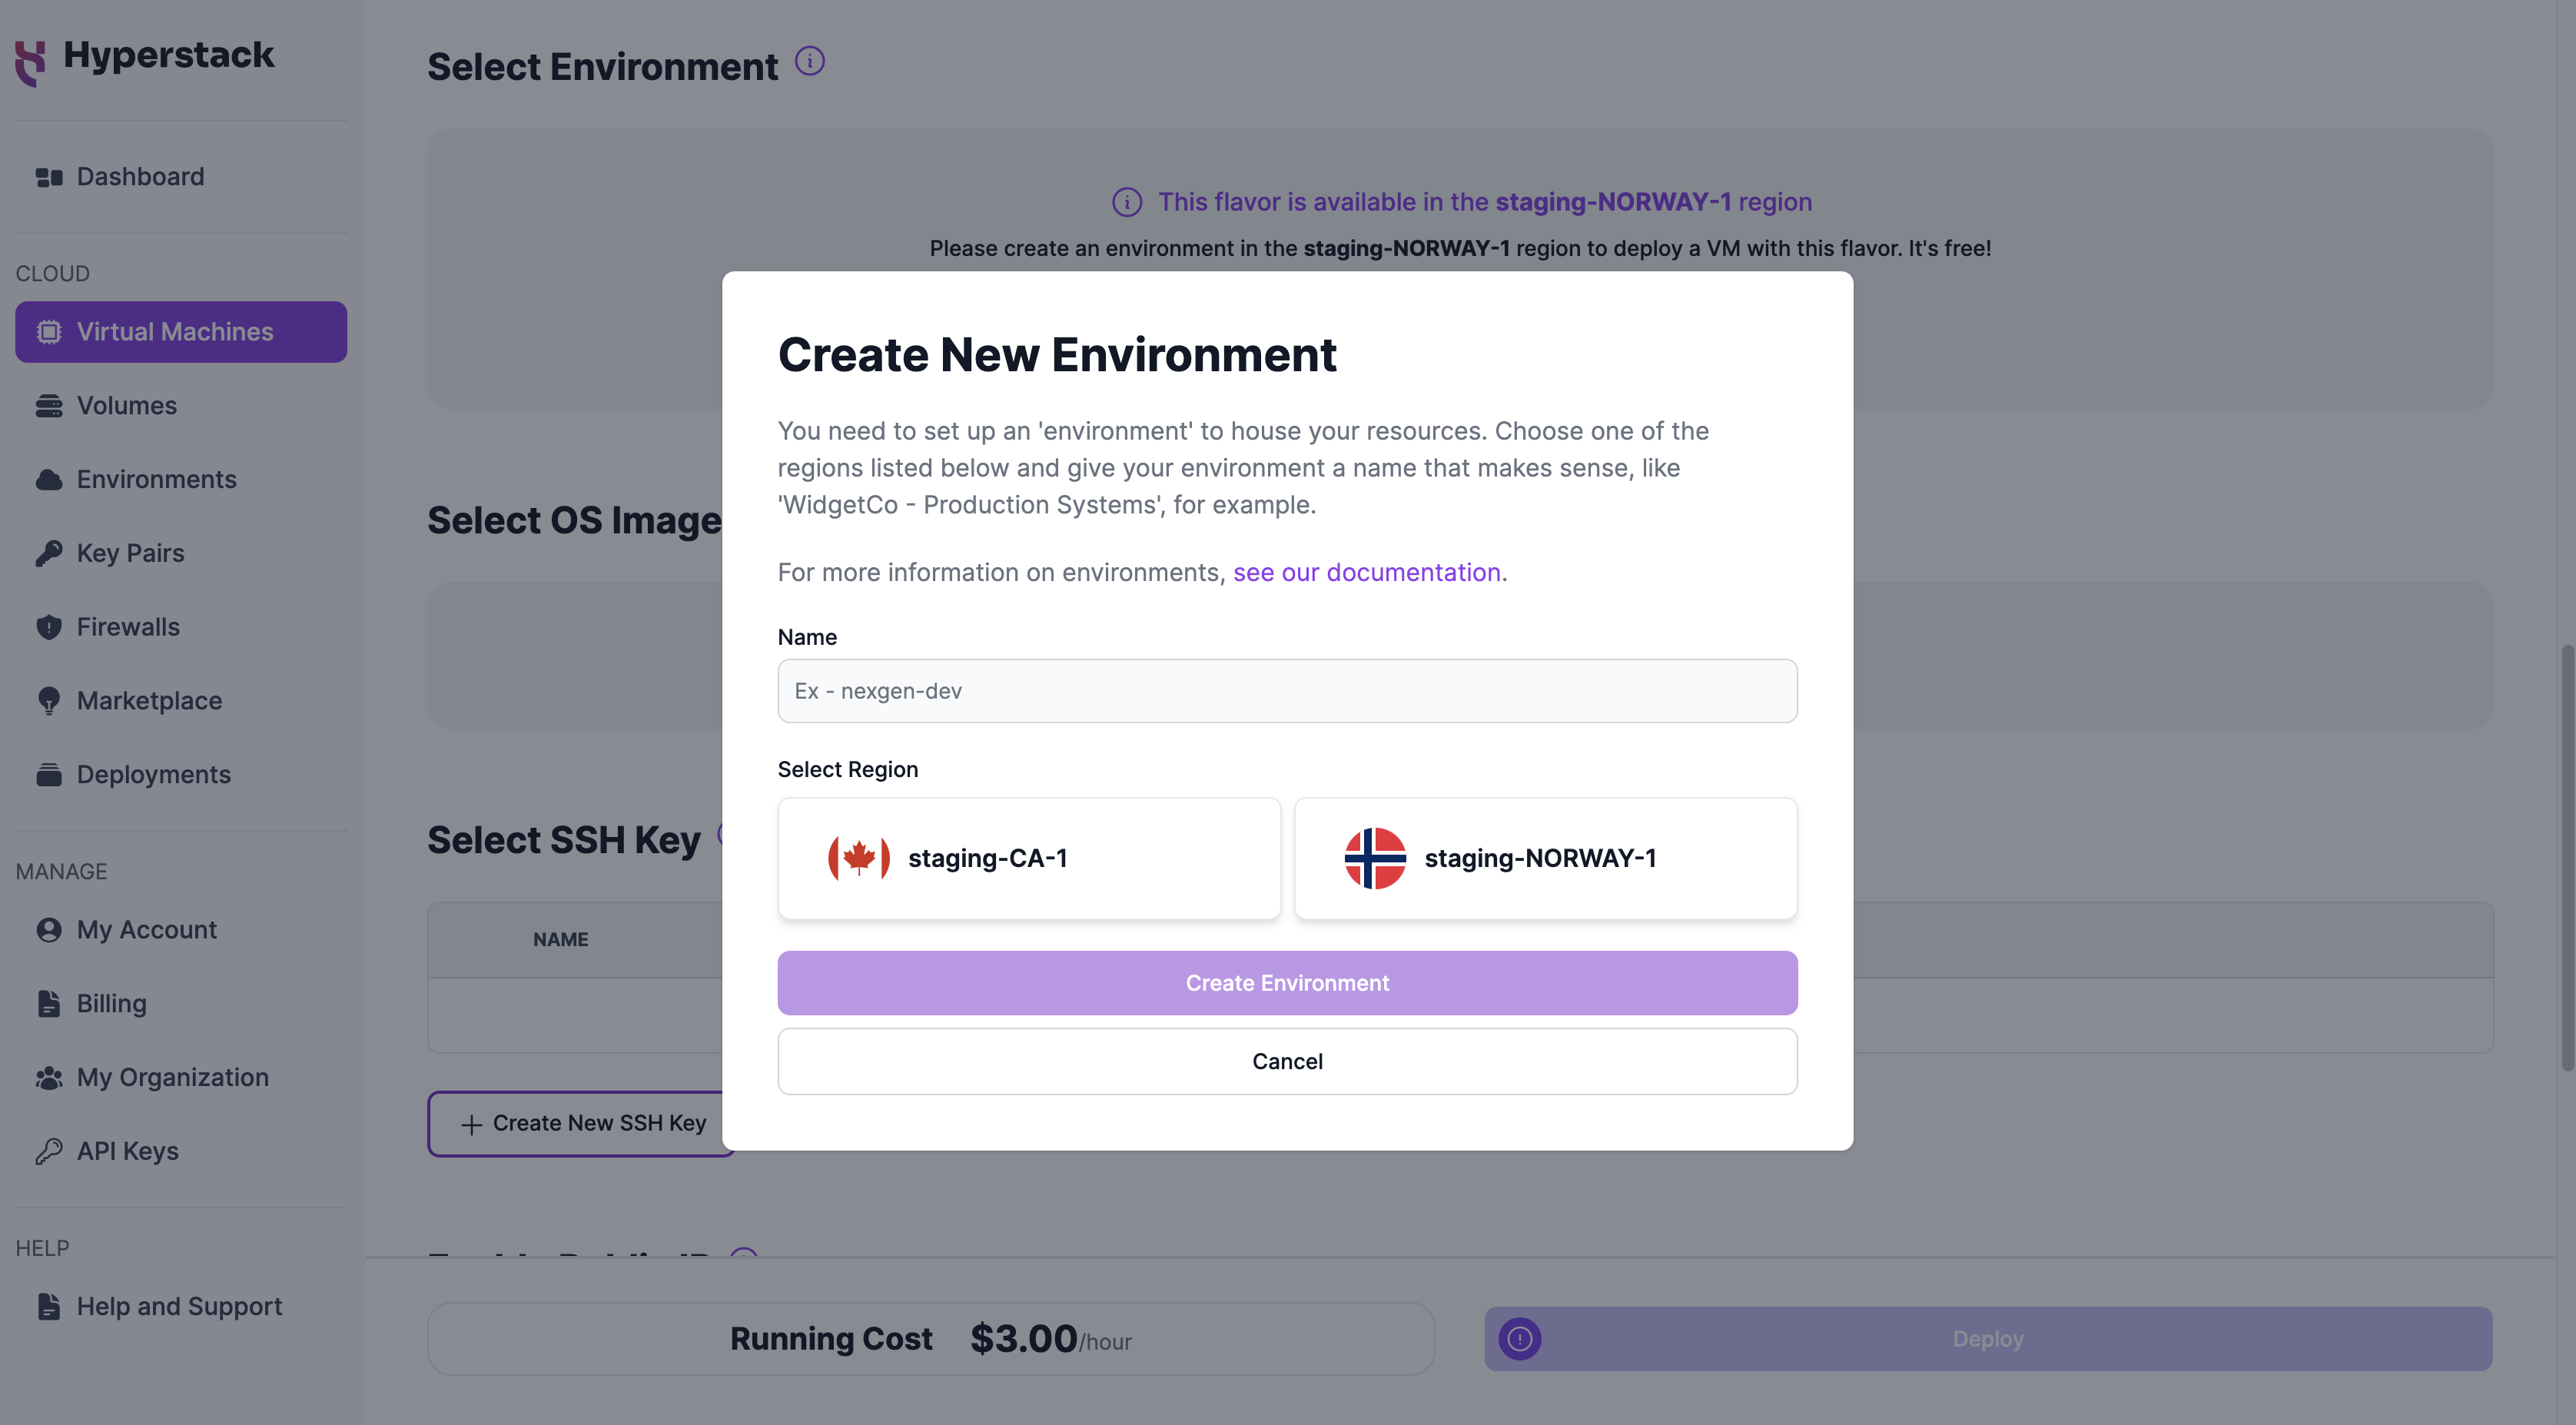
Click 'Create New Environment' to open the popup window.
Complete the fields as shown below and click 'Create Environment':
- Name - Give your environment a name.
- Select Region - Choose either CANADA-1 or NORWAY-1 based on the availability of your selected flavor in each region.
- NORWAY-1: Offers CPU-only, RTX A4000 (most affordable GPU option), RTX A5000, RTX A6000, RTX-A6000-ada, and A100-80G-PCIe flavors.
- CANADA-1: Provides CPU-only, A6000, L40, H100, and A100 (highest-performance GPUs) flavors.
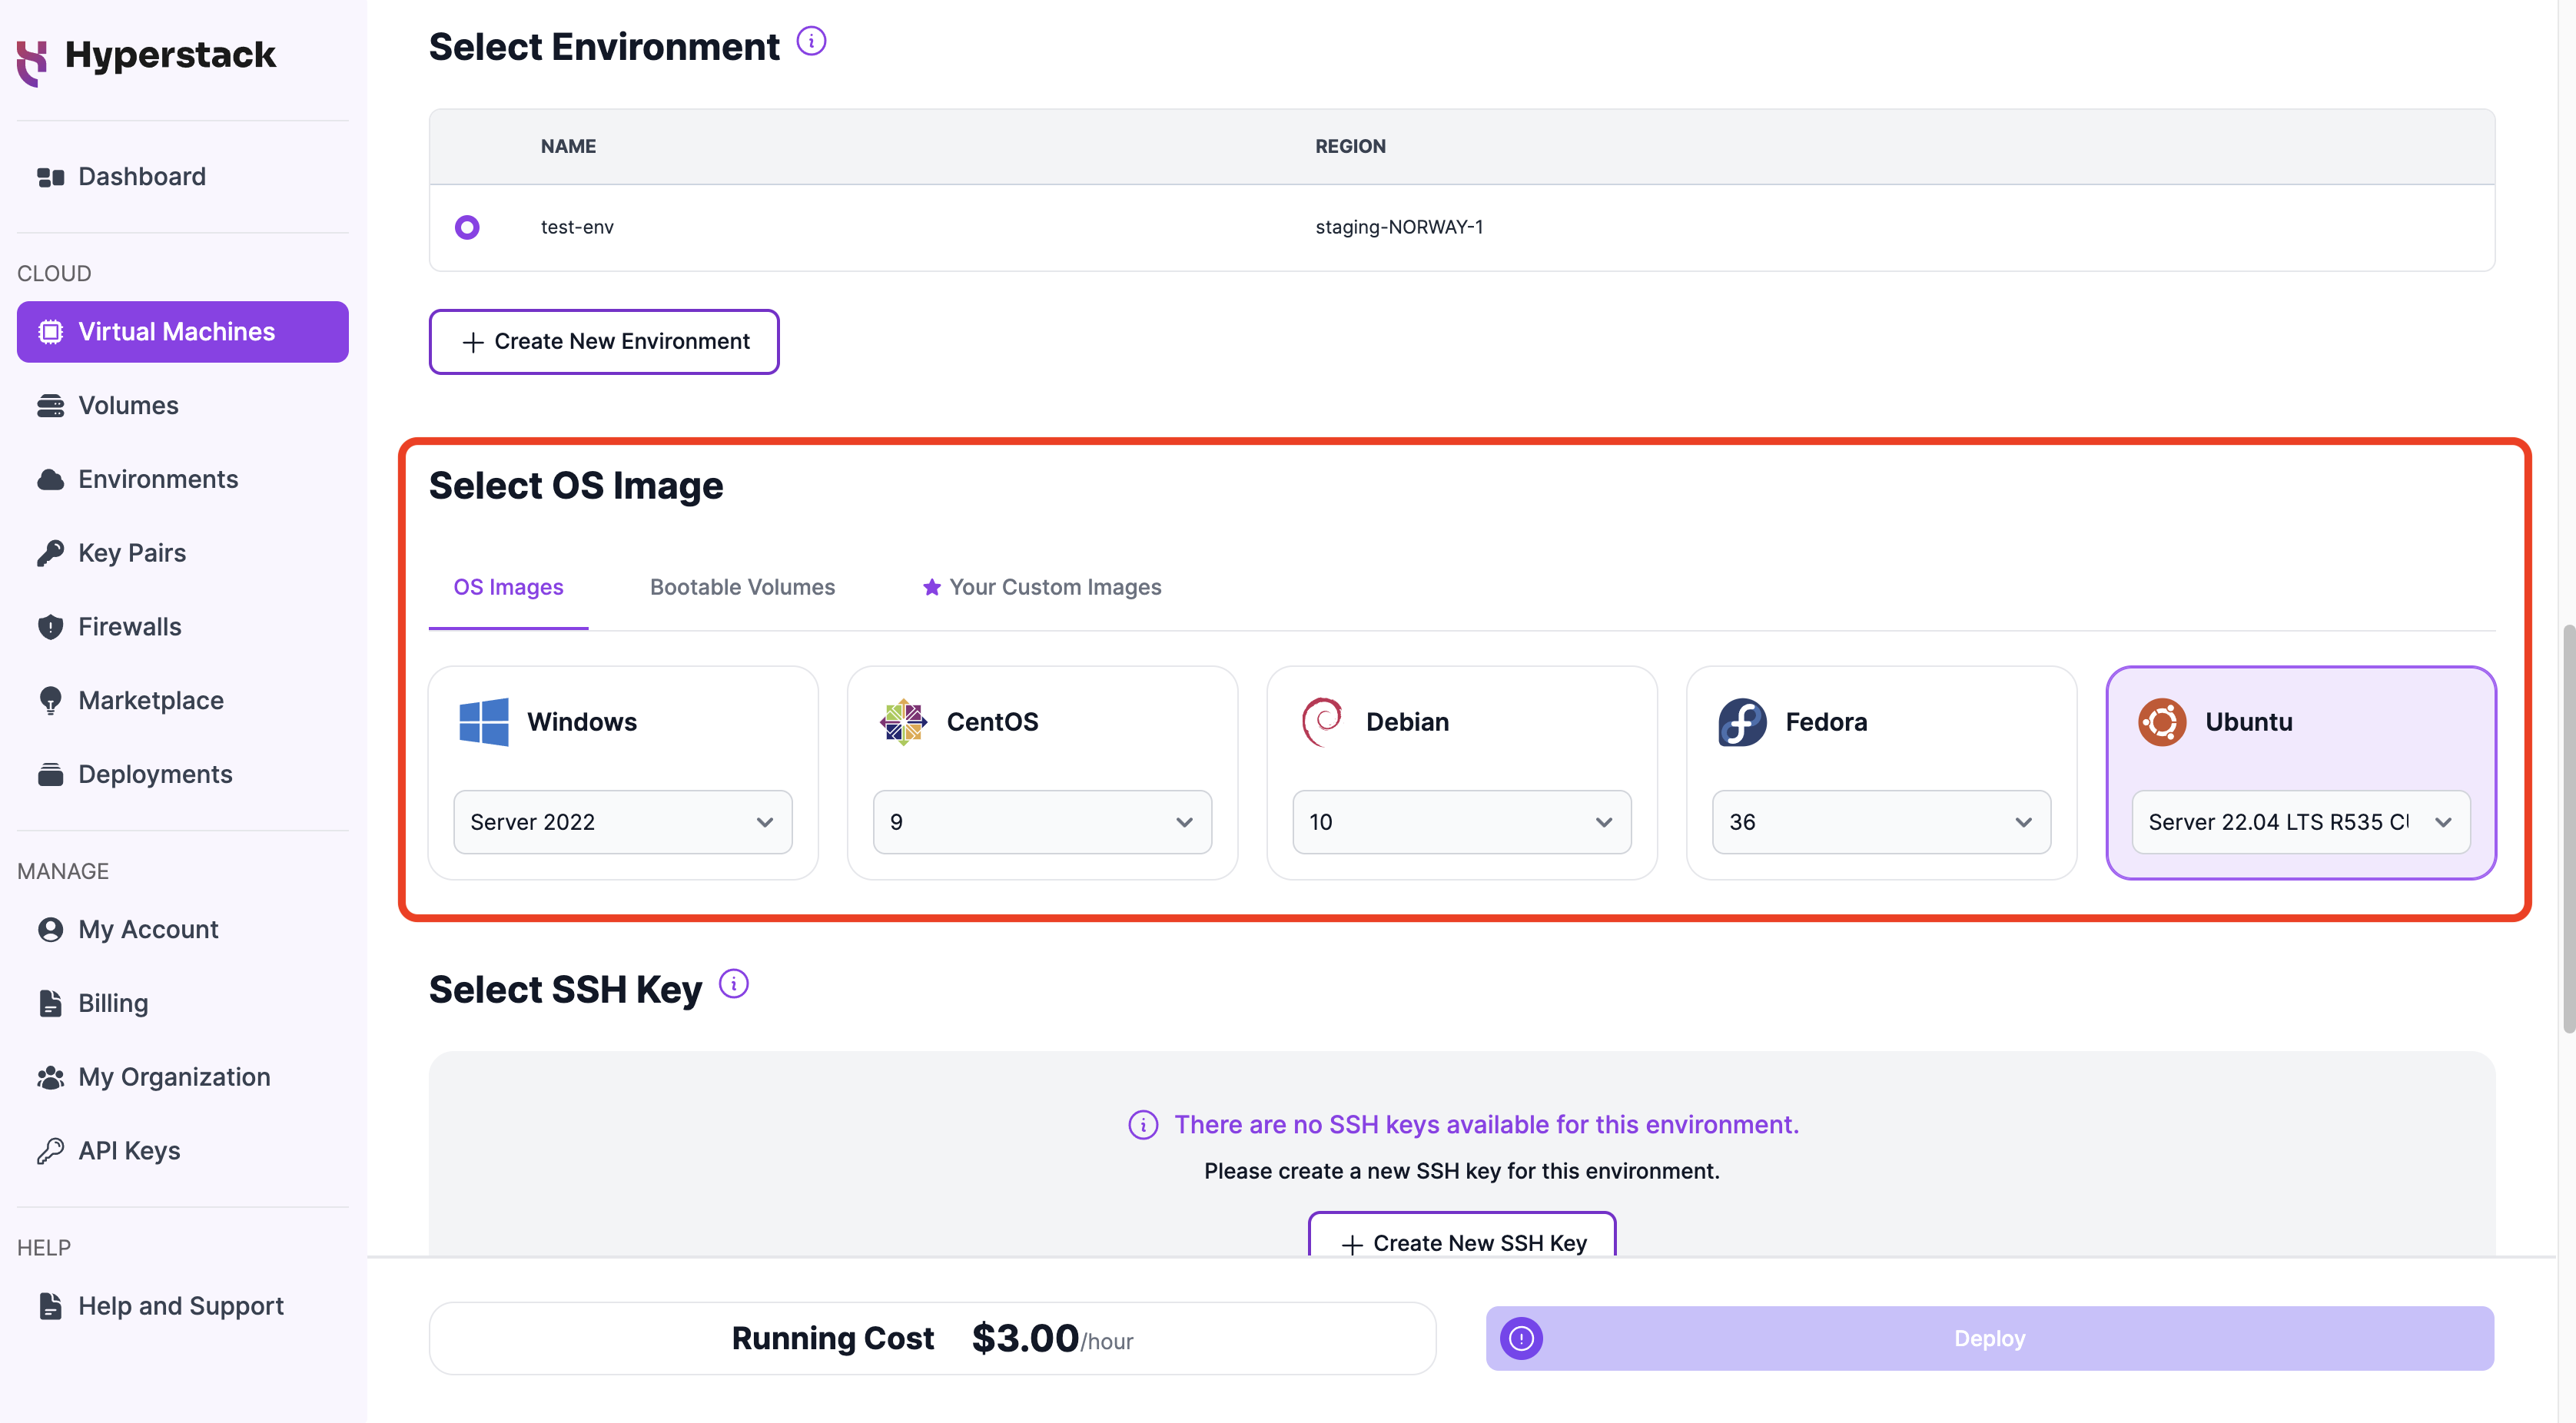
Choose an OS image
Choose an image for your virtual machine, which determines the operating system. To learn more about Hyperstack OS image options, click here.
- Recommended image: Ubuntu 22.04 LTS R535 CUDA
- This image comes with Hyperstack-compatible NVIDIA drivers and the CUDA toolkit pre-installed to streamline deployment.
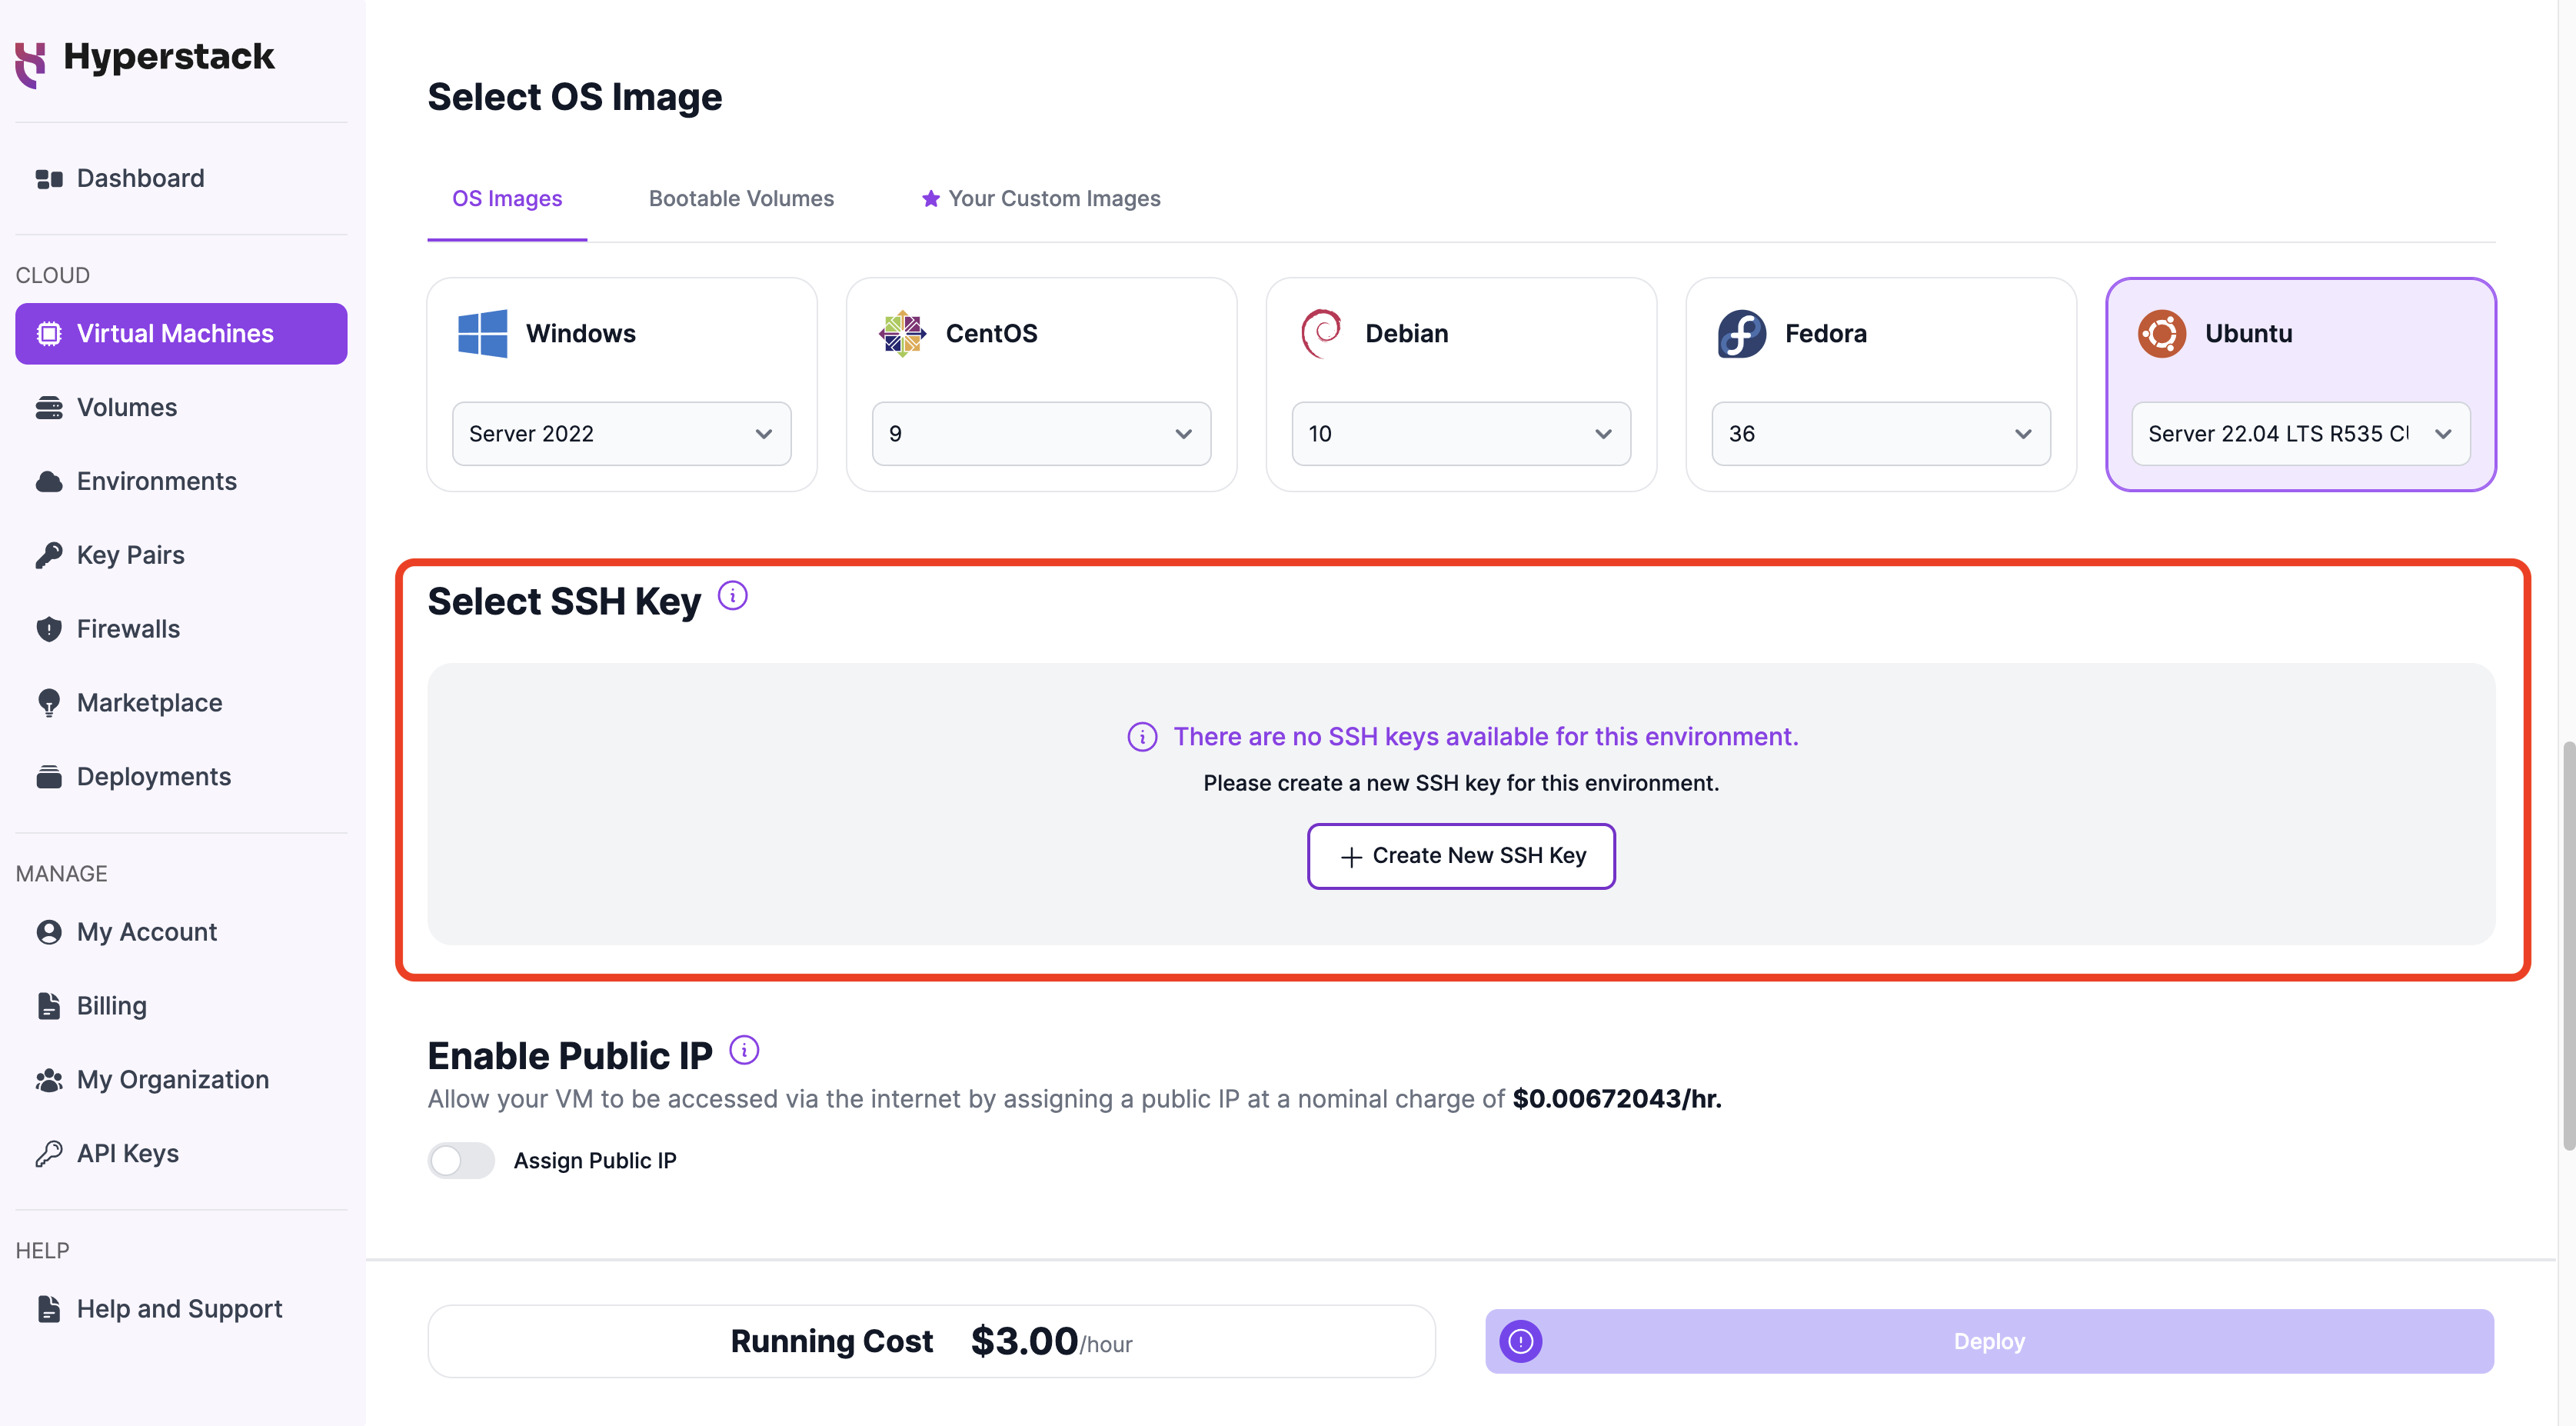
Create SSH key
Create an SSH key used to connect to your VM via secure shell (SSH). To learn more about SSH keys, click here.
a. Start by clicking the 'Create New SSH Key' button.
b. In the 'Generate a SSH Key' popup window, click the 'Generate SSH Key' tab (alternatively, import your own public key if you already have an SSH key).
c. Complete the fields as shown below:
- Environment - Select the environment you created in the 'Create an environment' step above.
- Name - Give the key pair a name.
d. Click 'Generate'

Save the location of your new SSH key, as you will need it to connect to your virtual machine later.
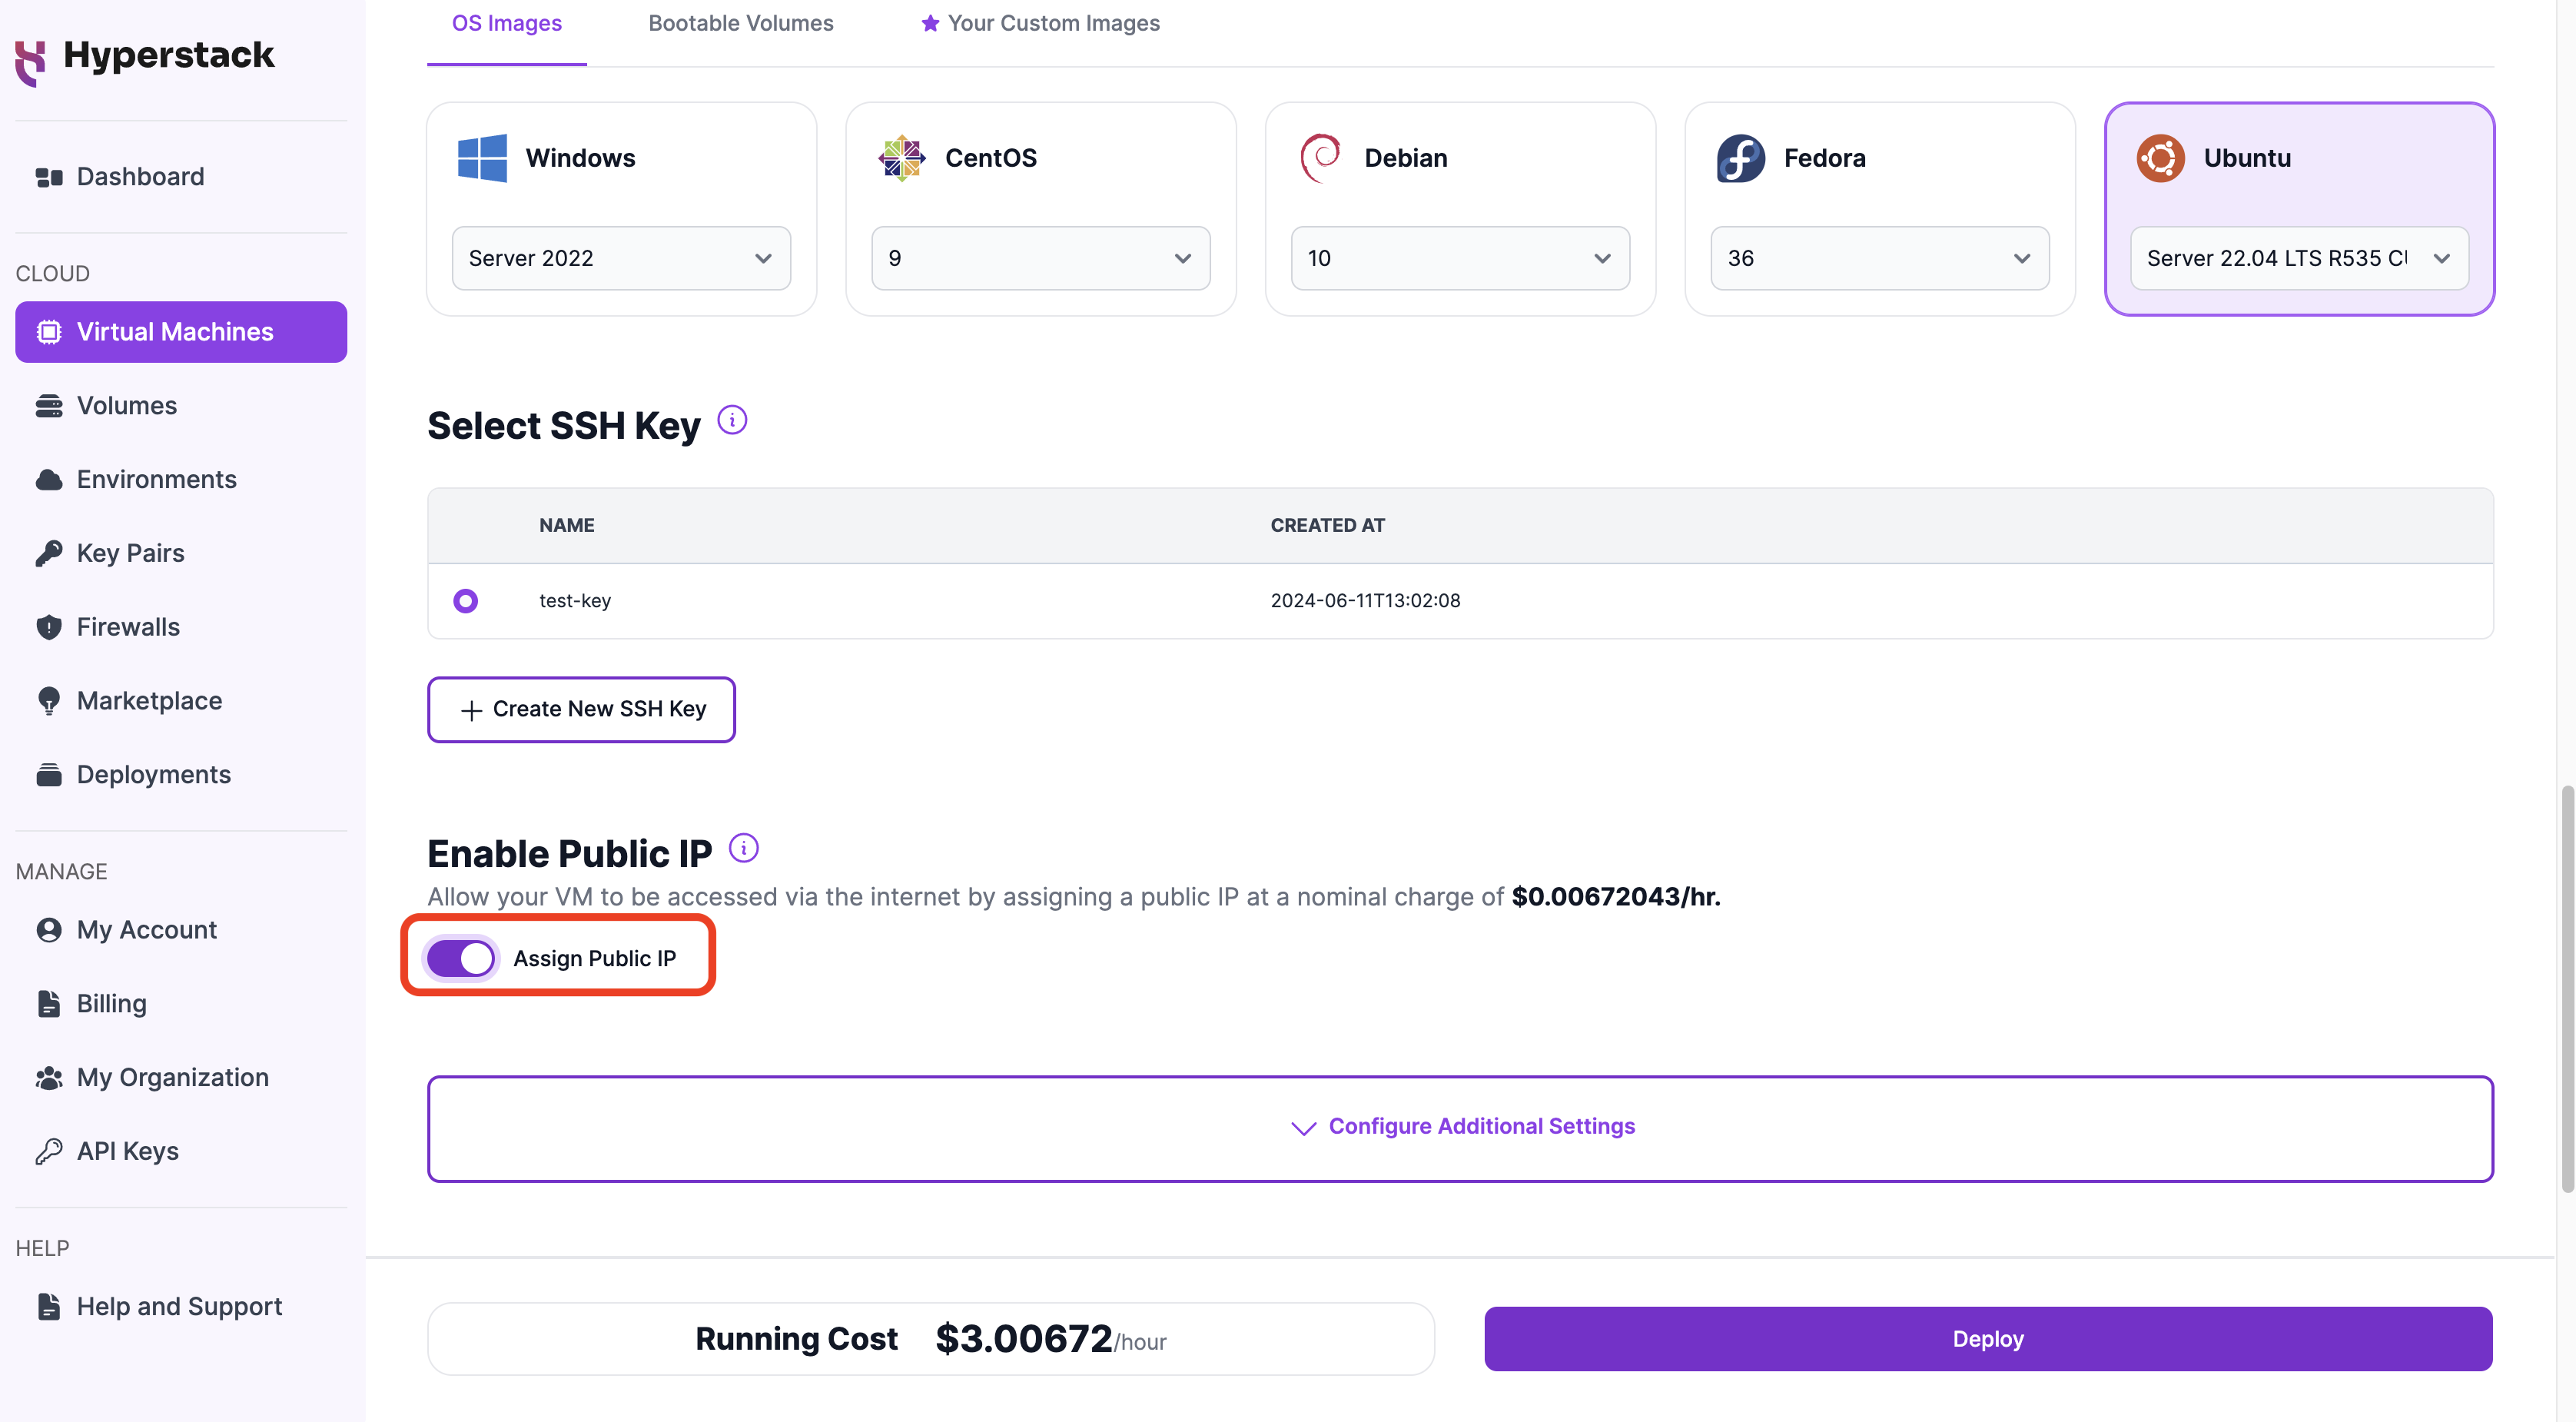
Assign a public IP address
Click the "Assign Public IP" option to automatically assign a public IP address to your virtual machine for a small hourly fee as presented in Hyperstack, which enables you to SSH into the virtual machine from your local machine.
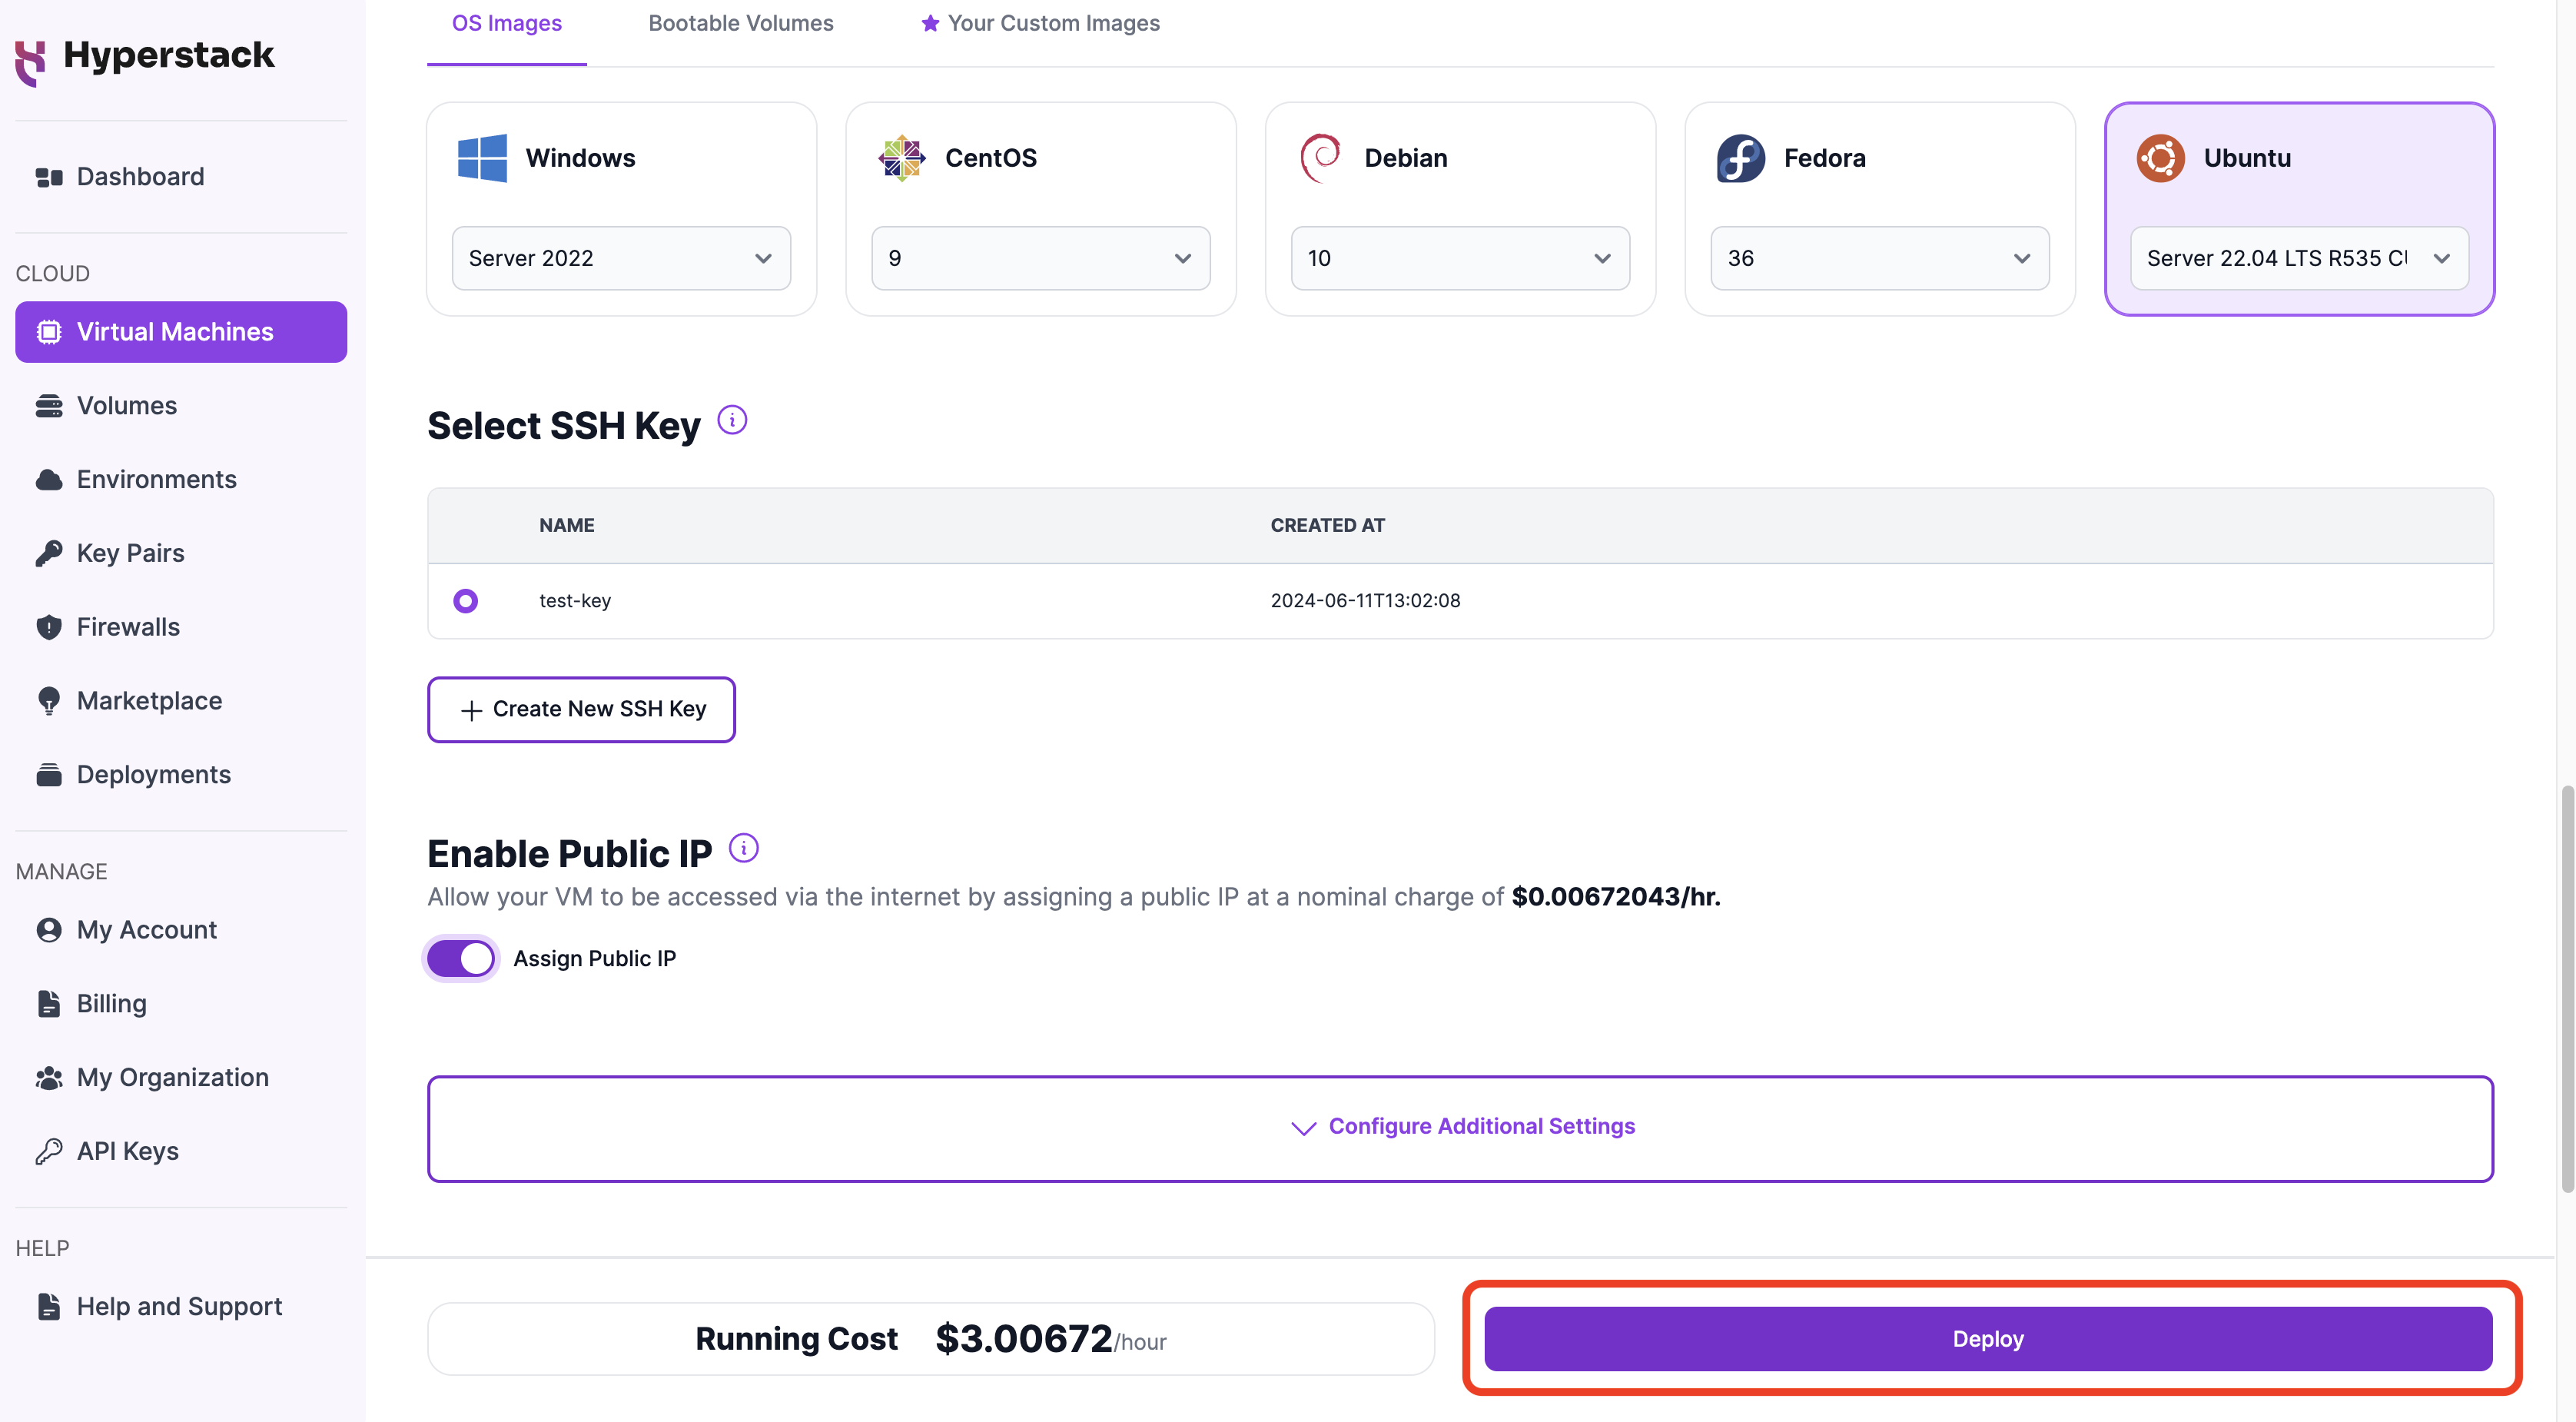
Deploy virtual machine
In the bottom right of your window, click "Deploy", to deploy your new virtual machine machine. If you are unable to deploy your VM and receive a message saying that you have insufficient credit, navigate to the billing page in Hyperstack and add credit to your account.
Connect to your virtual machine
To enable SSH access to your virtual machine in Hyperstack, follow these steps:
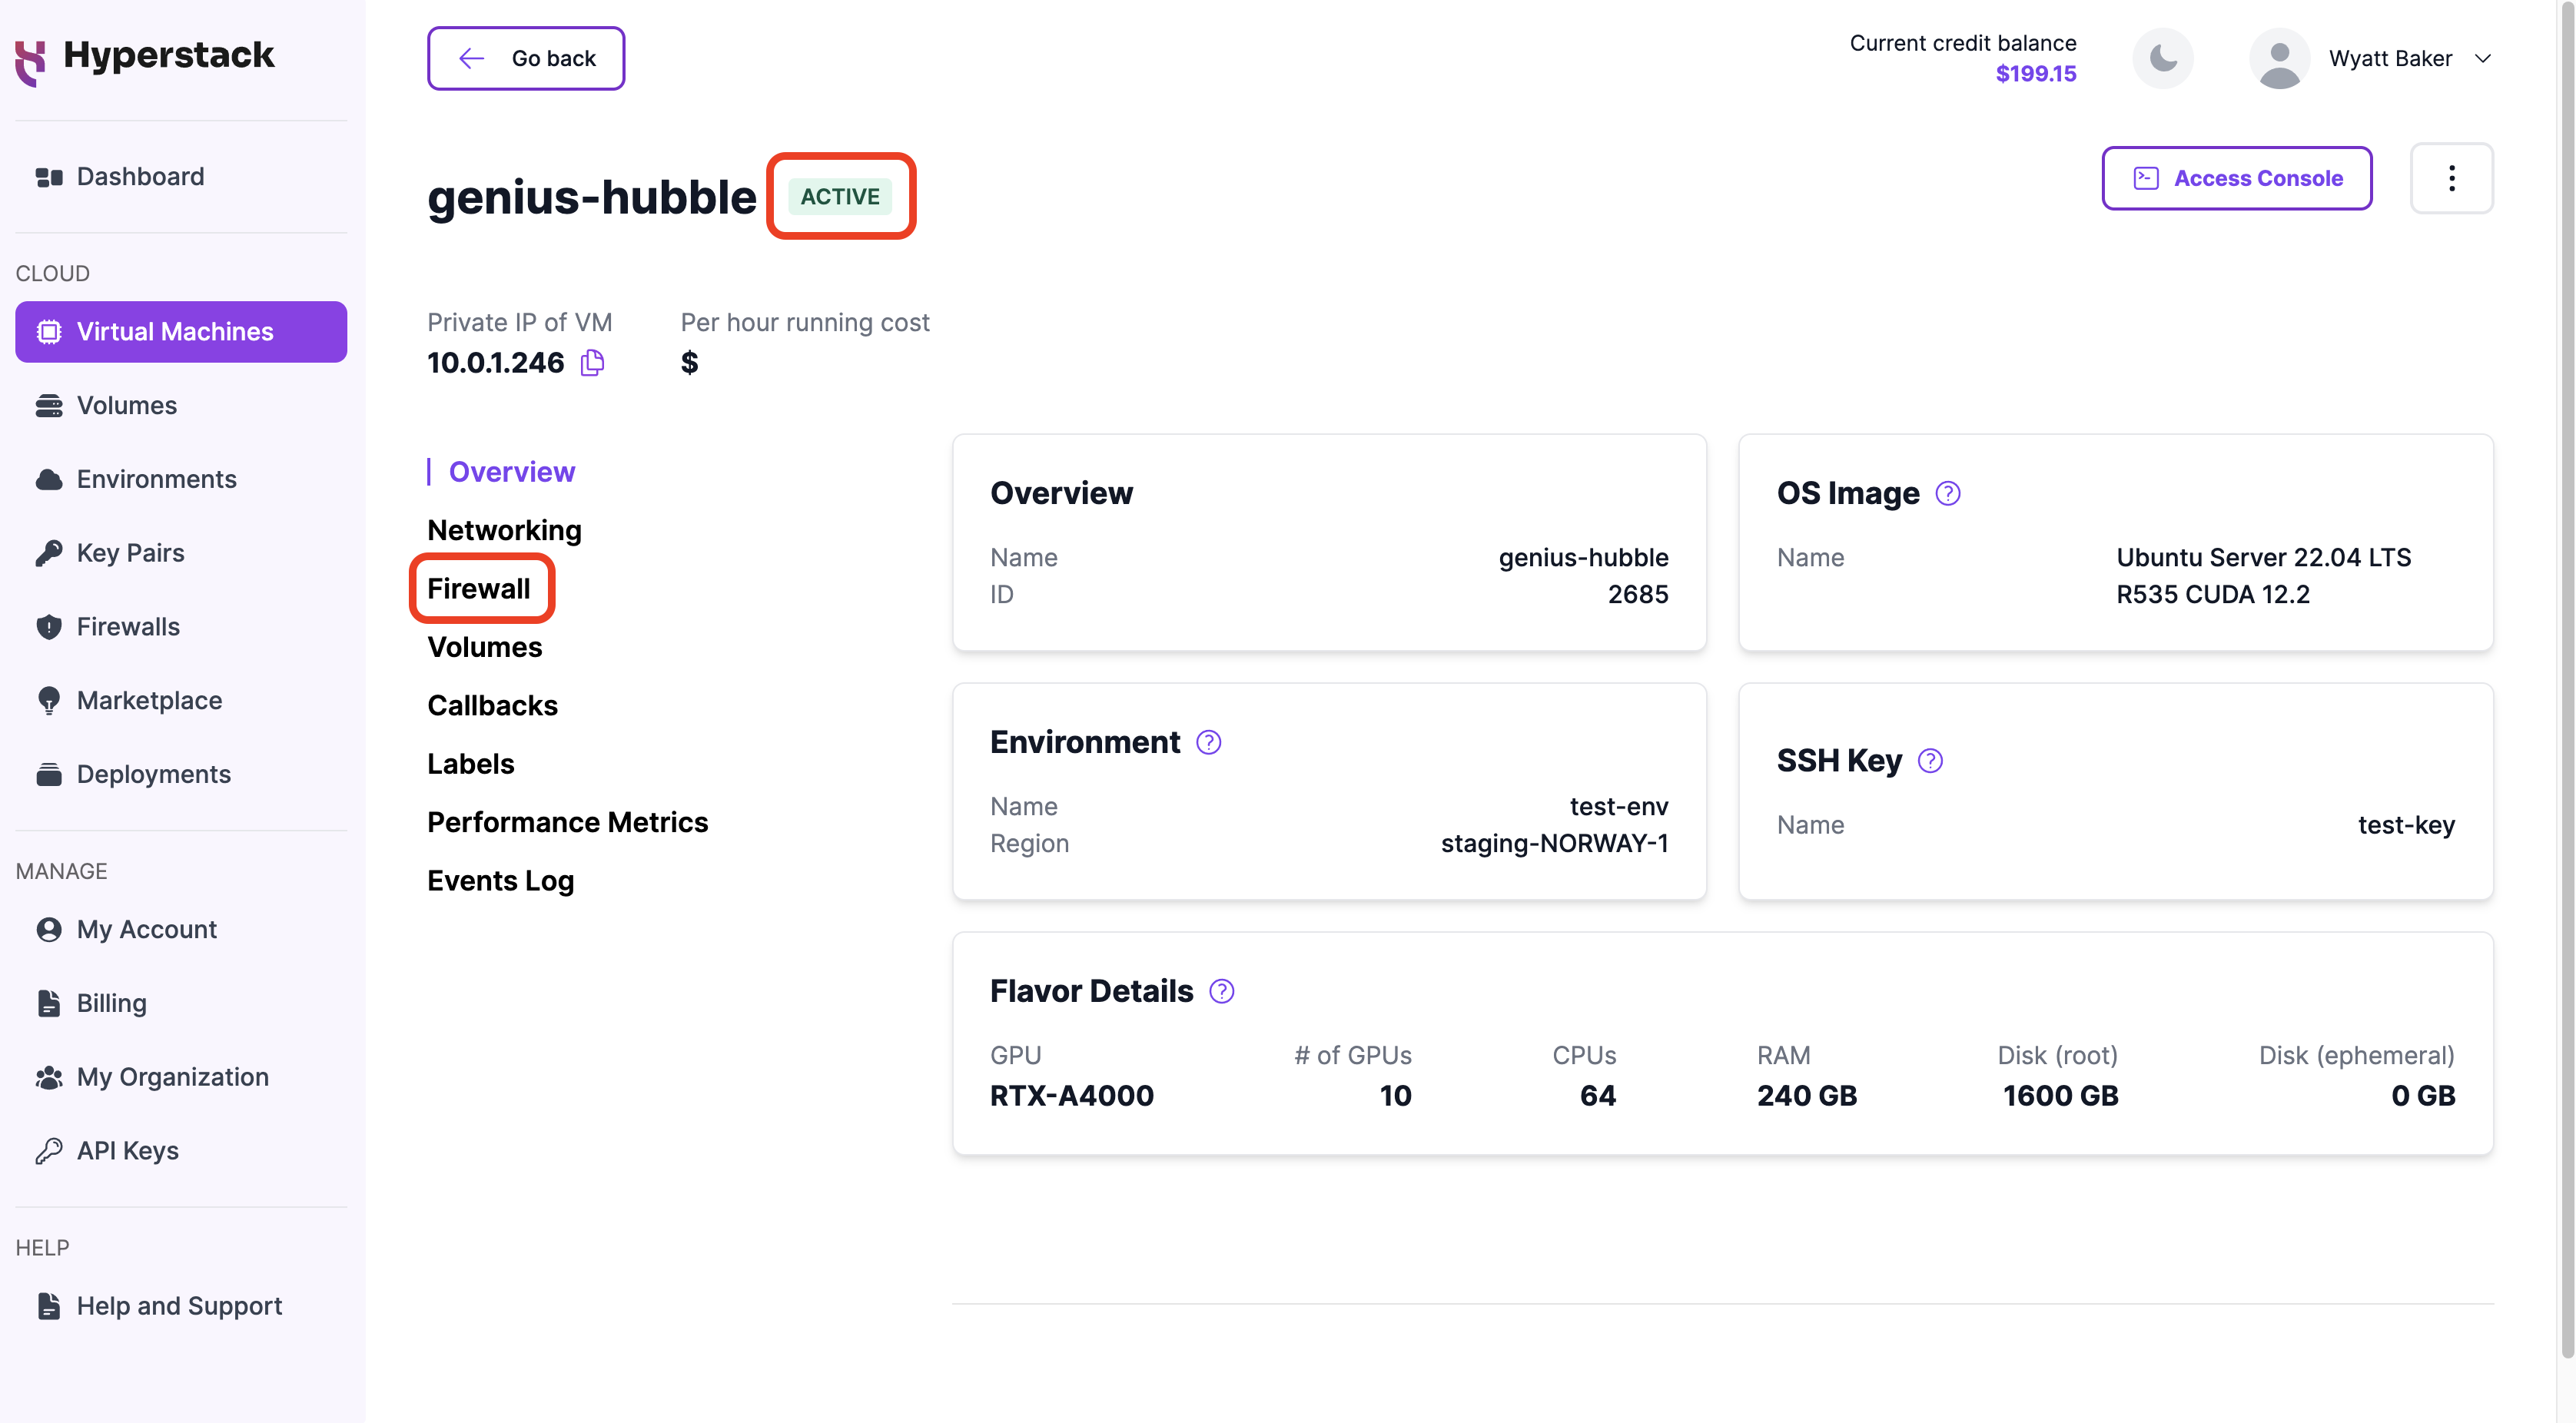
a. After waiting for your virtual machine to become ACTIVE, click on the 'Firewall' tab to access firewall settings for the virtual machine.
The time required for the virtual machine to fully boot and become active varies by flavor. For entry-level flavors like the 1xA4000, it is usually less than 1 minute, while larger flavors like the 8xH100-NVLink take longer.
b. Click the 'Enable SSH access' button.
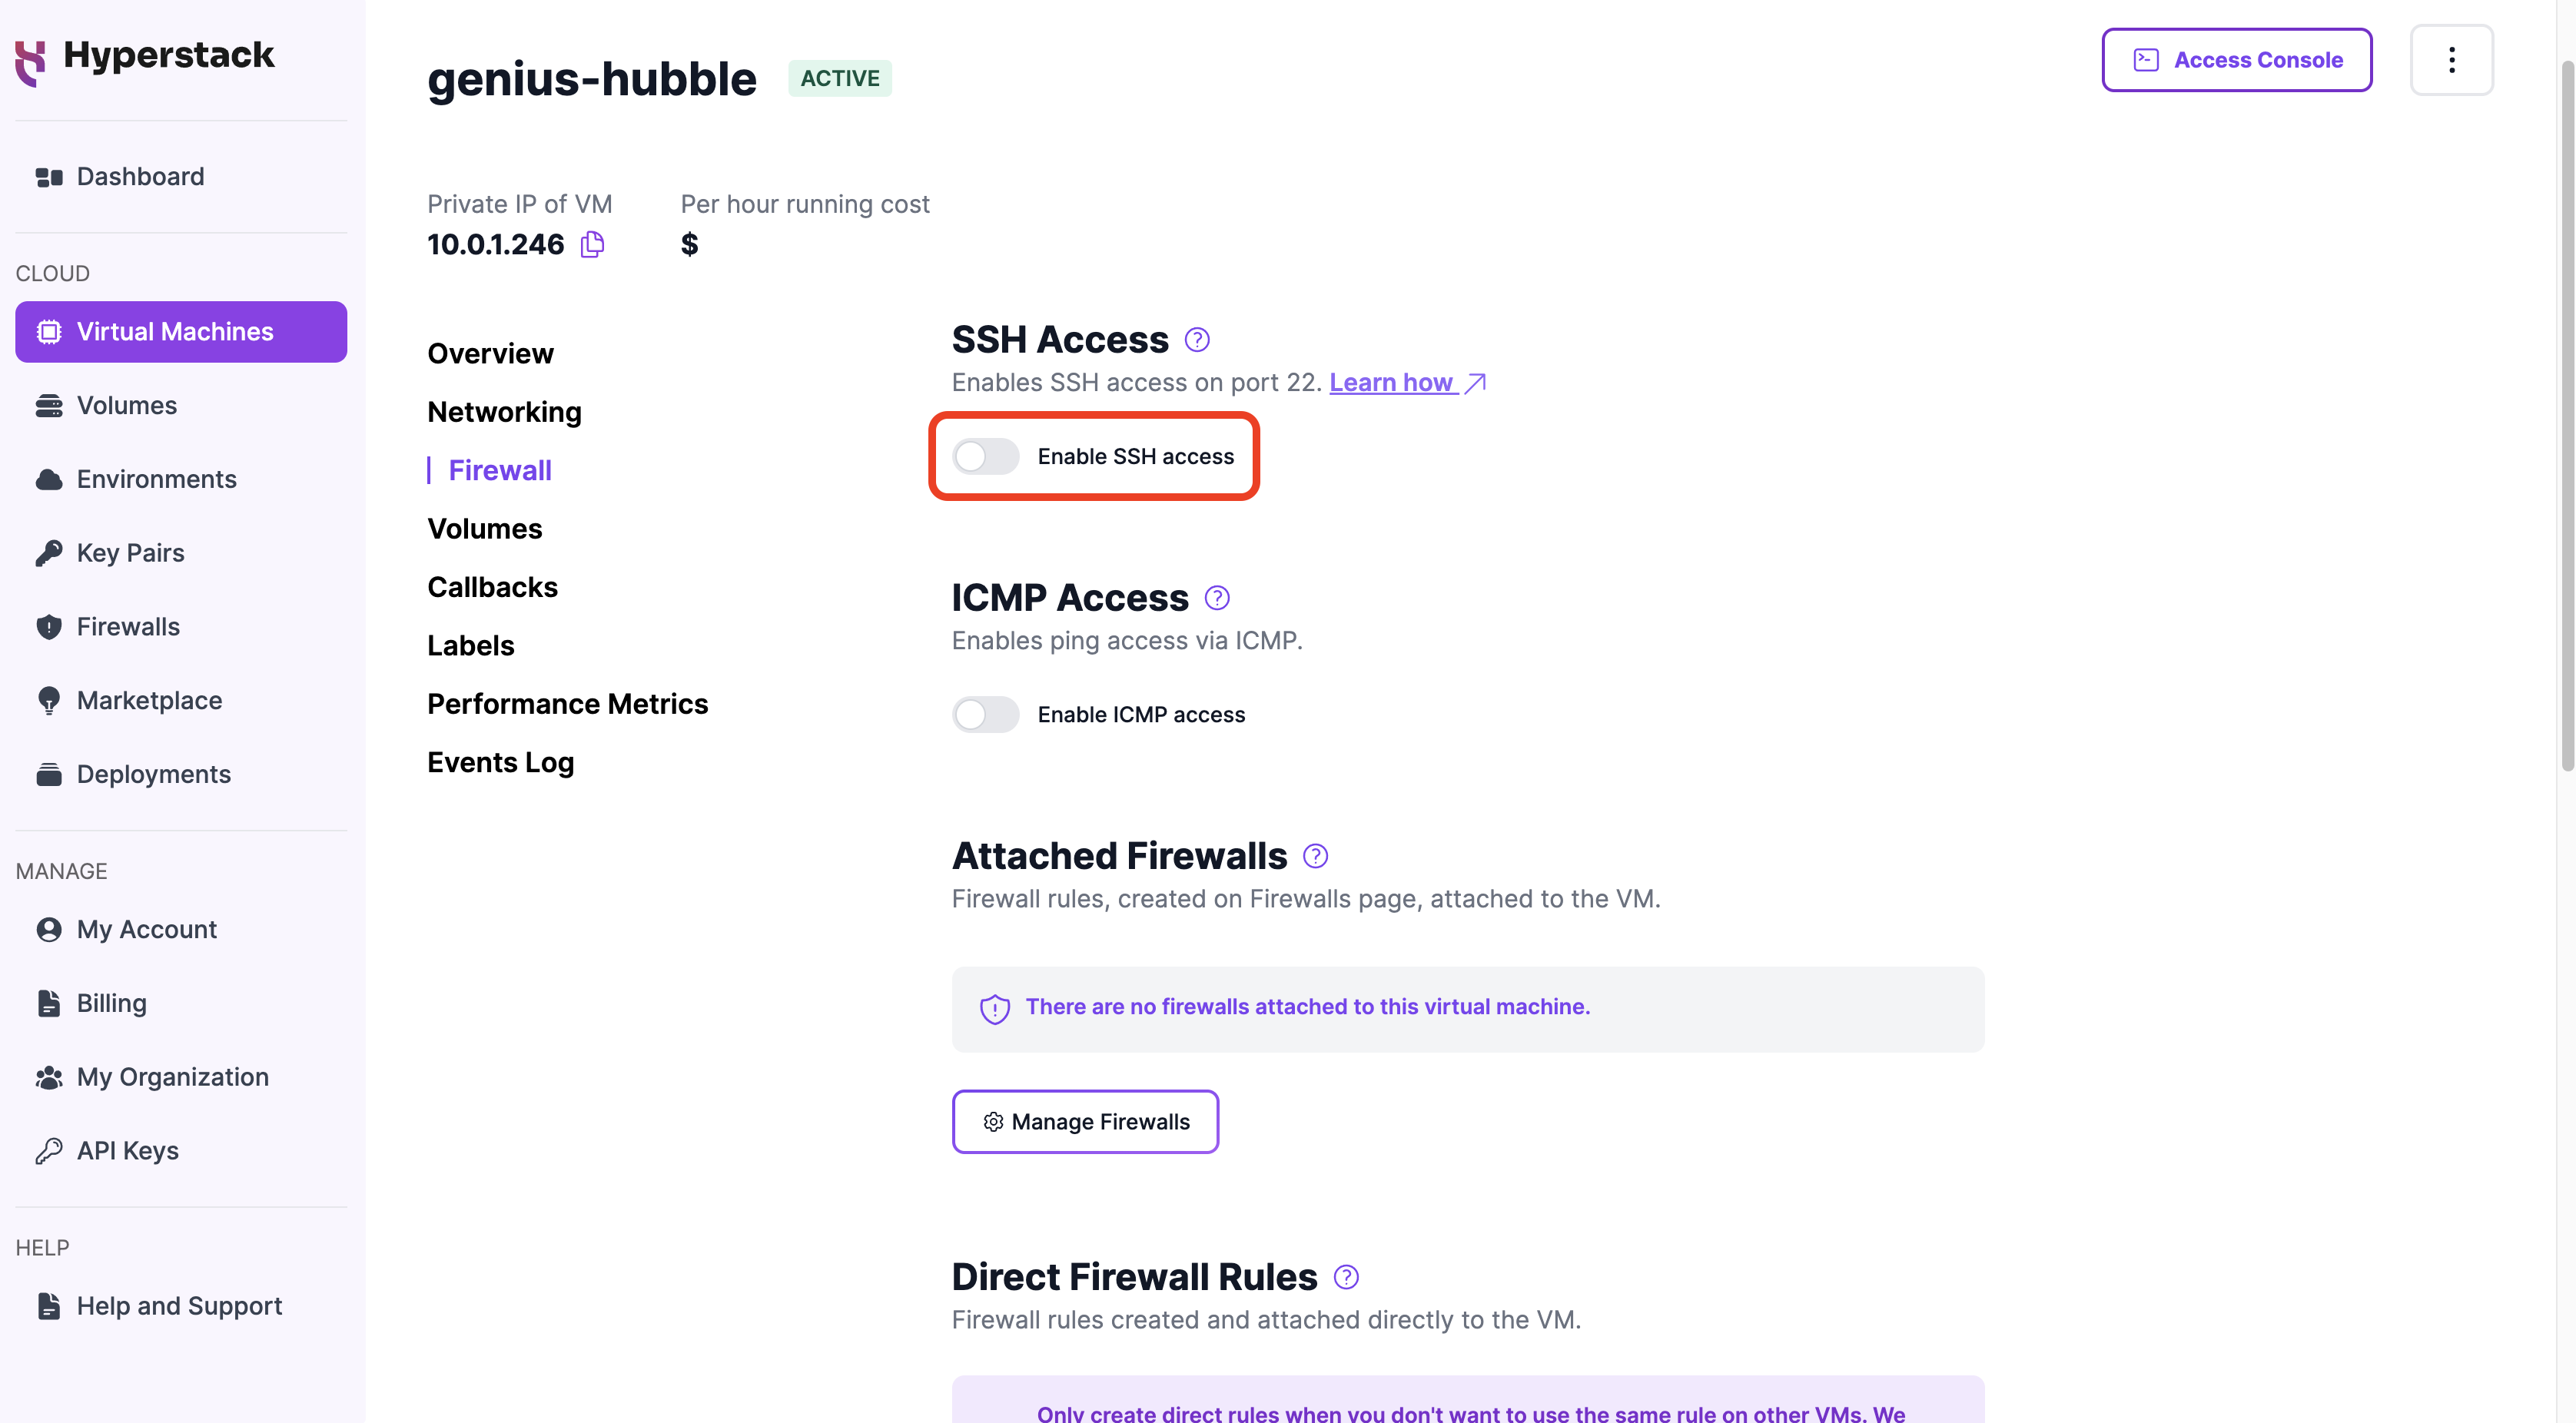
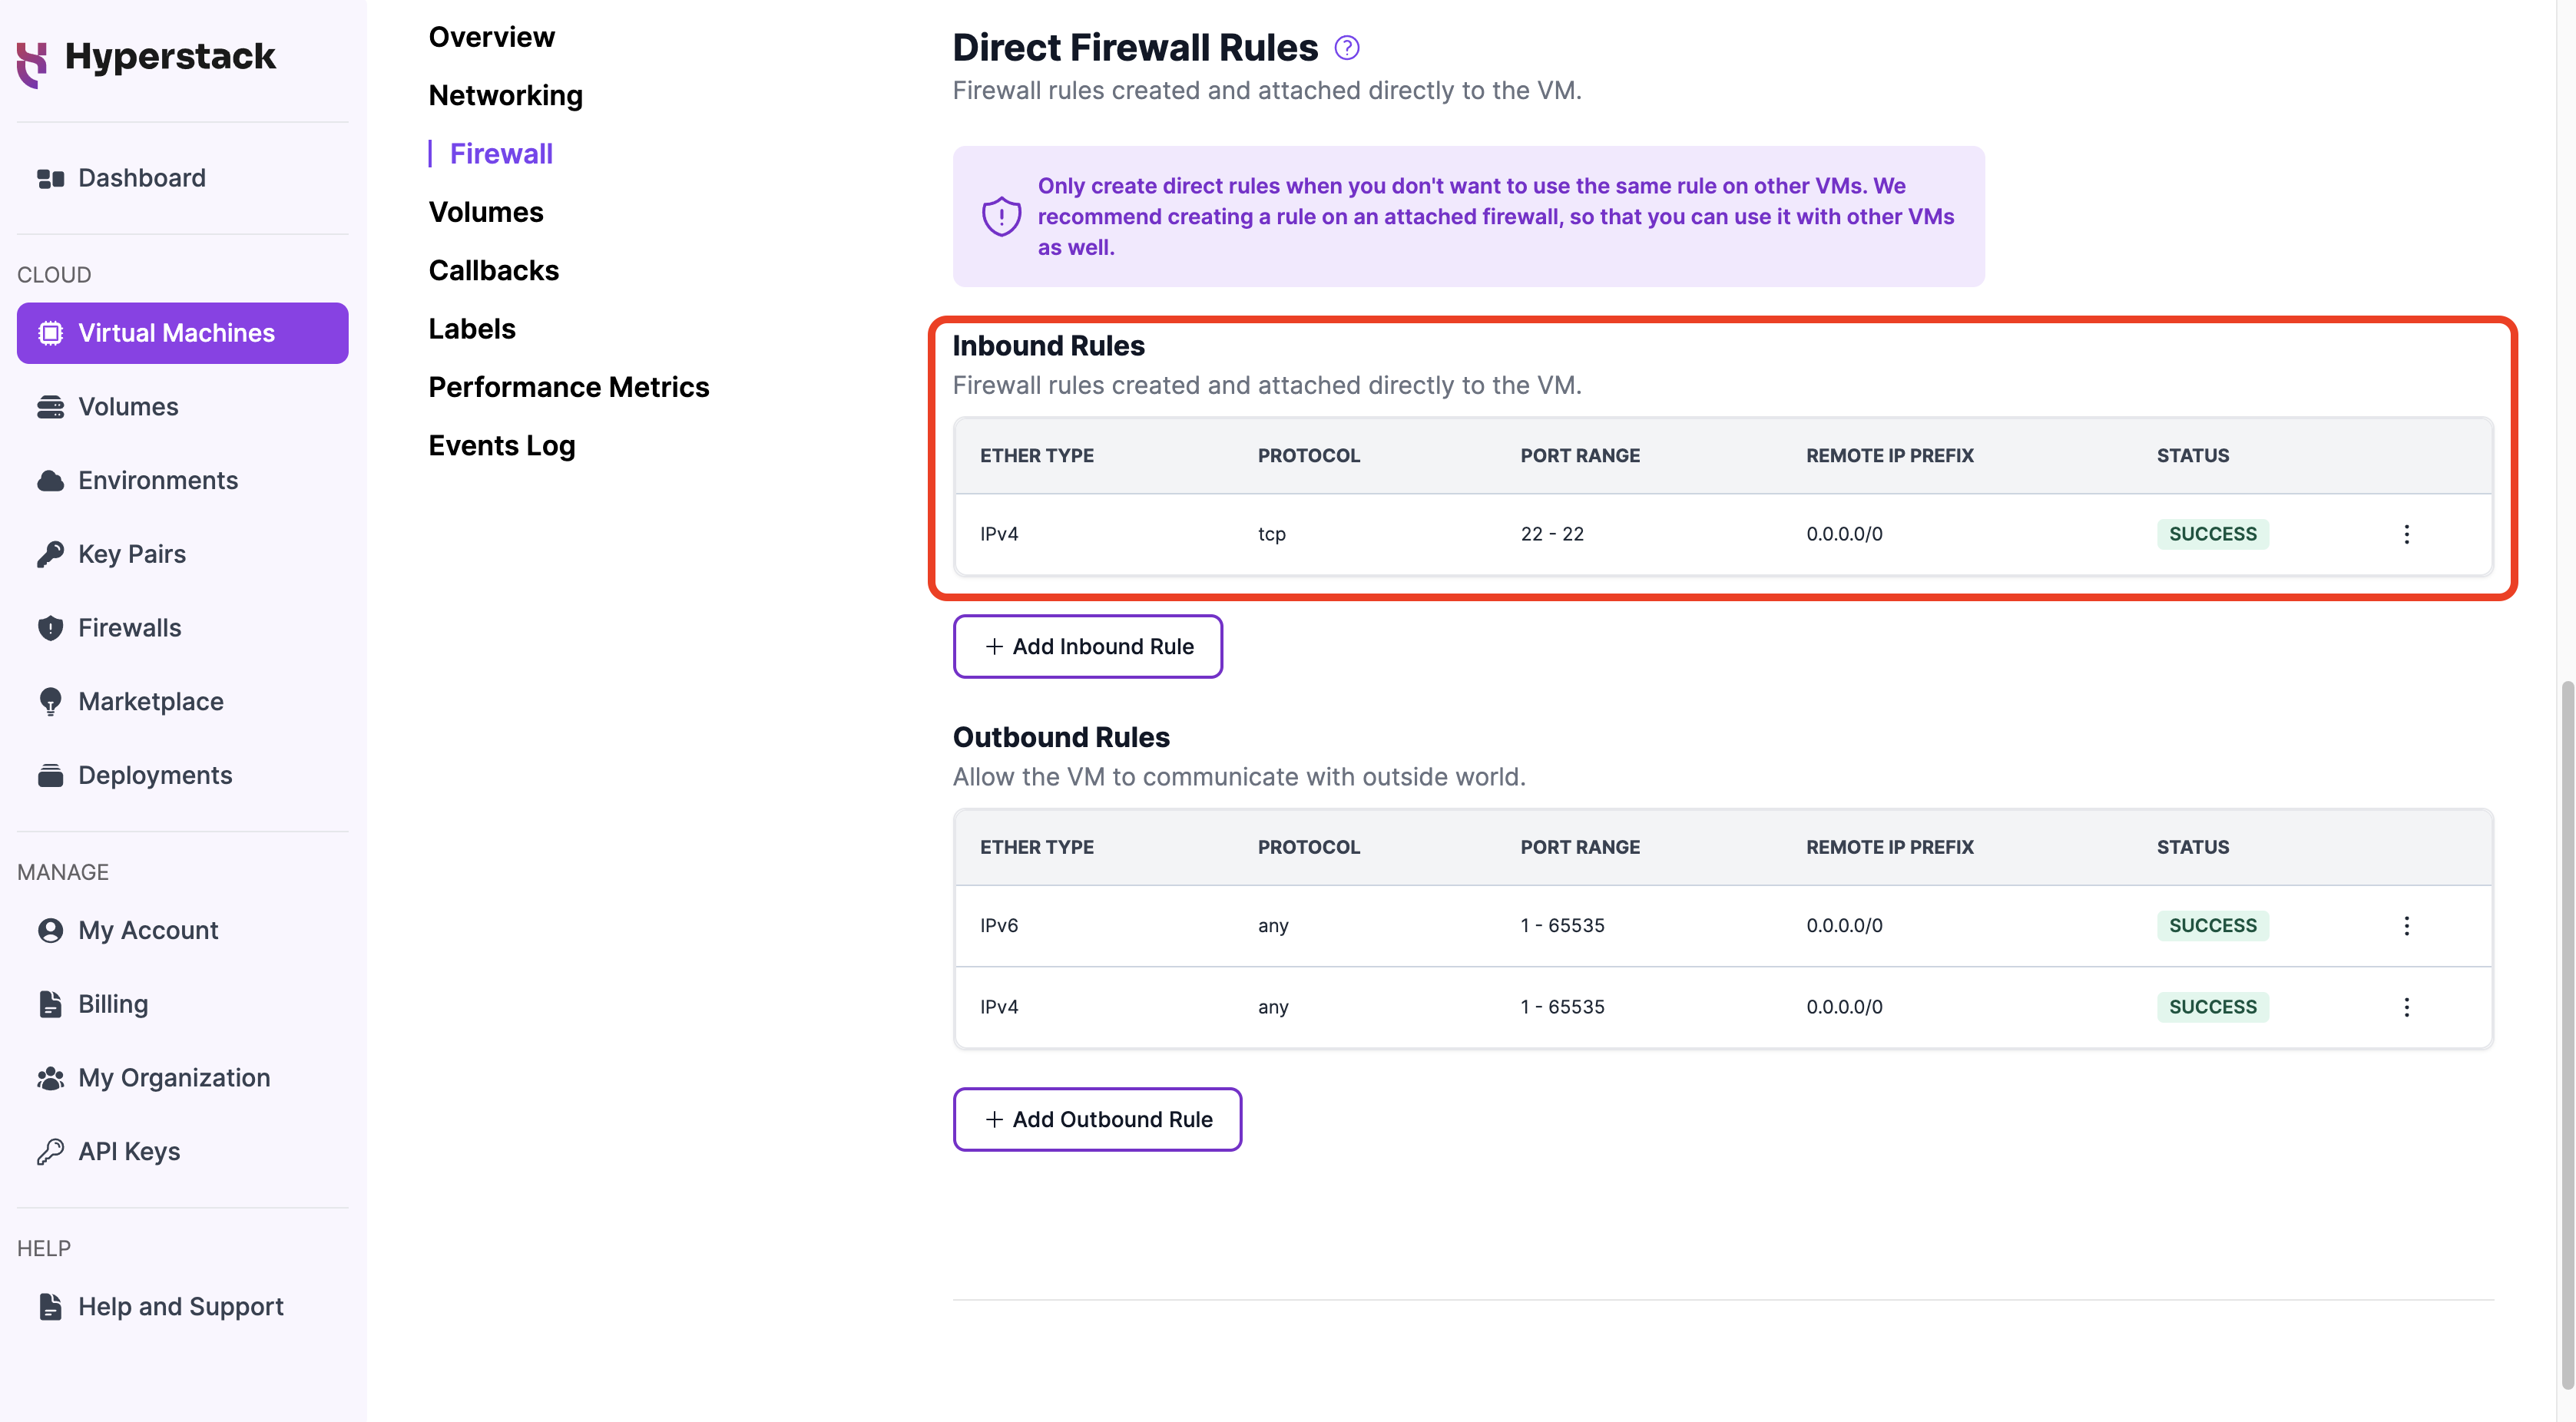
Enabling SSH access will automatically generate a firewall rule allowing incoming traffic from any IP (0.0.0.0/0) on port 22 via TCP, as illustrated below.
To access your virtual machine via SSH, execute the following command in a terminal (such as Terminal, PowerShell, etc.):
ssh -i [path_to_ssh_key] [os_username]@[vm_ip_address]
- '
[path_to_ssh_key]' is replaced with the path to the SSH key that was generated in the 'Create SSH key' step. - '
[os_username]' is replaced with the username of the operating system running on your virtual machine.- For Windows, the username is
Administrator - For Ubuntu, the username is
ubuntu - For Centos, the username is
centos - For Debian, the username is
debian - For Fedora, the username is
fedora
- For Windows, the username is
- '
[vm_ip_address]' is replaced with the IP address of your virtual machine, which you can find on the 'My Virtual Machines' page under the 'PUBLIC IP' column.
For example:
ssh -i ../_ssh_keys/example-key_hyperstack.txt [email protected]
Congratulations! You have successfully deployed and connected to your new virtual machine.
Now that you've deployed your first virtual machine, explore more of Hyperstack's features that allow you to create VMs tailored to your specific use cases.