Connecting to an Ubuntu VM
For secure access to your Ubuntu VMs, Hyperstack utilizes the Secure Shell (SSH) protocol, ensuring that all data transmitted between your local machine and the remote server is encrypted. SSH provides access to the full command line interface of your Ubuntu VM, offering robust management capabilities.
For enhanced security, SSH is required for the initial login to your virtual machine. Once your VM is set up, you can use the VNC console within Hyperstack to log in with a username and password.
Connect to a Ubuntu VM via SSH
Follow the steps below to securely connect to your Ubuntu VM via SSH.
-
Verify your VM is running:
On the 'My Virtual Machine' page in Hyperstack, ensure the VM is displaying an
ACTIVEstatus. It may take some time for all services to initialize after the VM is deployed. If there is a connection error, retry after a few minutes. -
Ensure your VM has a public IP address:
Your Ubuntu VM must have a public IP address for SSH access to allow direct, remote connection over the internet, as a public IP is globally routable and ensures the VM can be accessed from any external network, unlike a private IP, which is only accessible within its local network.
To check if your VM has a public IP address, go to the 'Virtual Machines' section to open the 'My Virtual Machine' page.
- If an IP address is listed under the 'Public IP' header, then your VM has a public IP.
- If no IP address is listed, navigate to the 'Networking' tab on the VM's details page and toggle 'Public IP Attached' to assign one.
-
Enable SSH traffic:
To enable SSH access to your Hyperstack VMs, you must create a firewall rule that permits incoming traffic on port 22 (the default SSH port) from any IP address (0.0.0.0/0). Follow the steps below to automatically configure this firewall rule.
a. Navigate to the 'Virtual Machines' section in Hyperstack and click on the VM name to see its details. Once the VM is
ACTIVE, click on the 'Firewall' tab to access firewall settings for the virtual machine.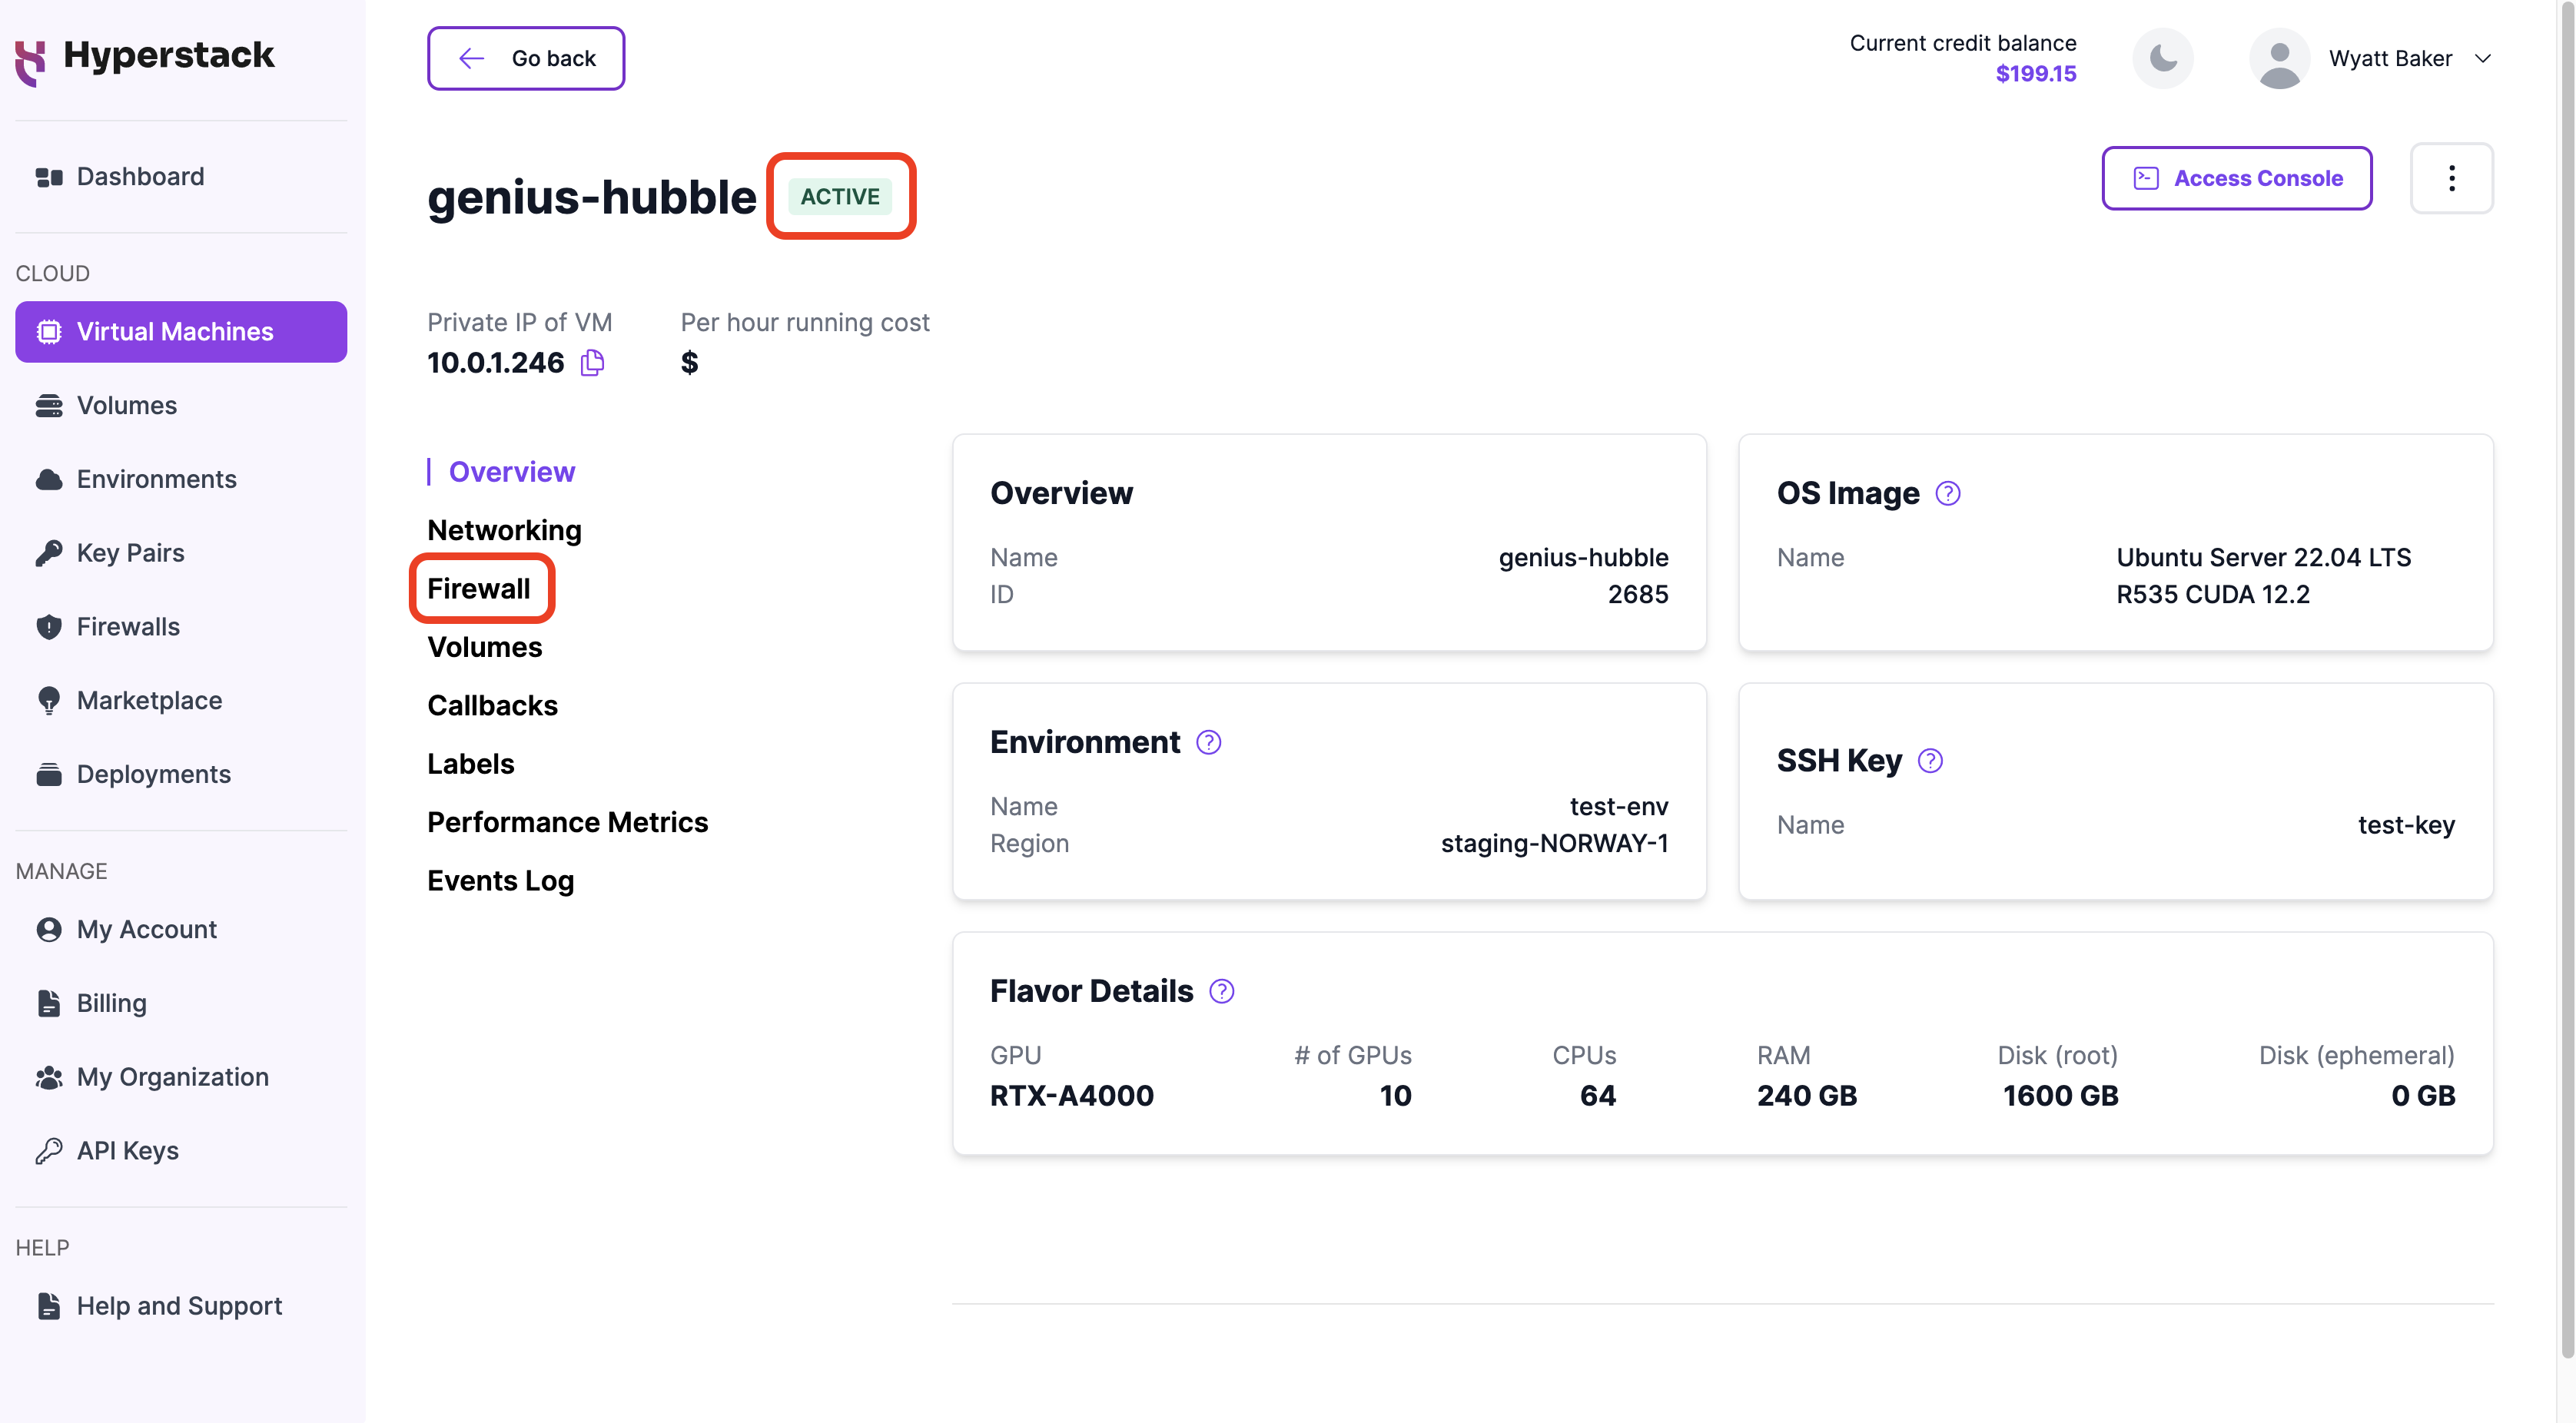
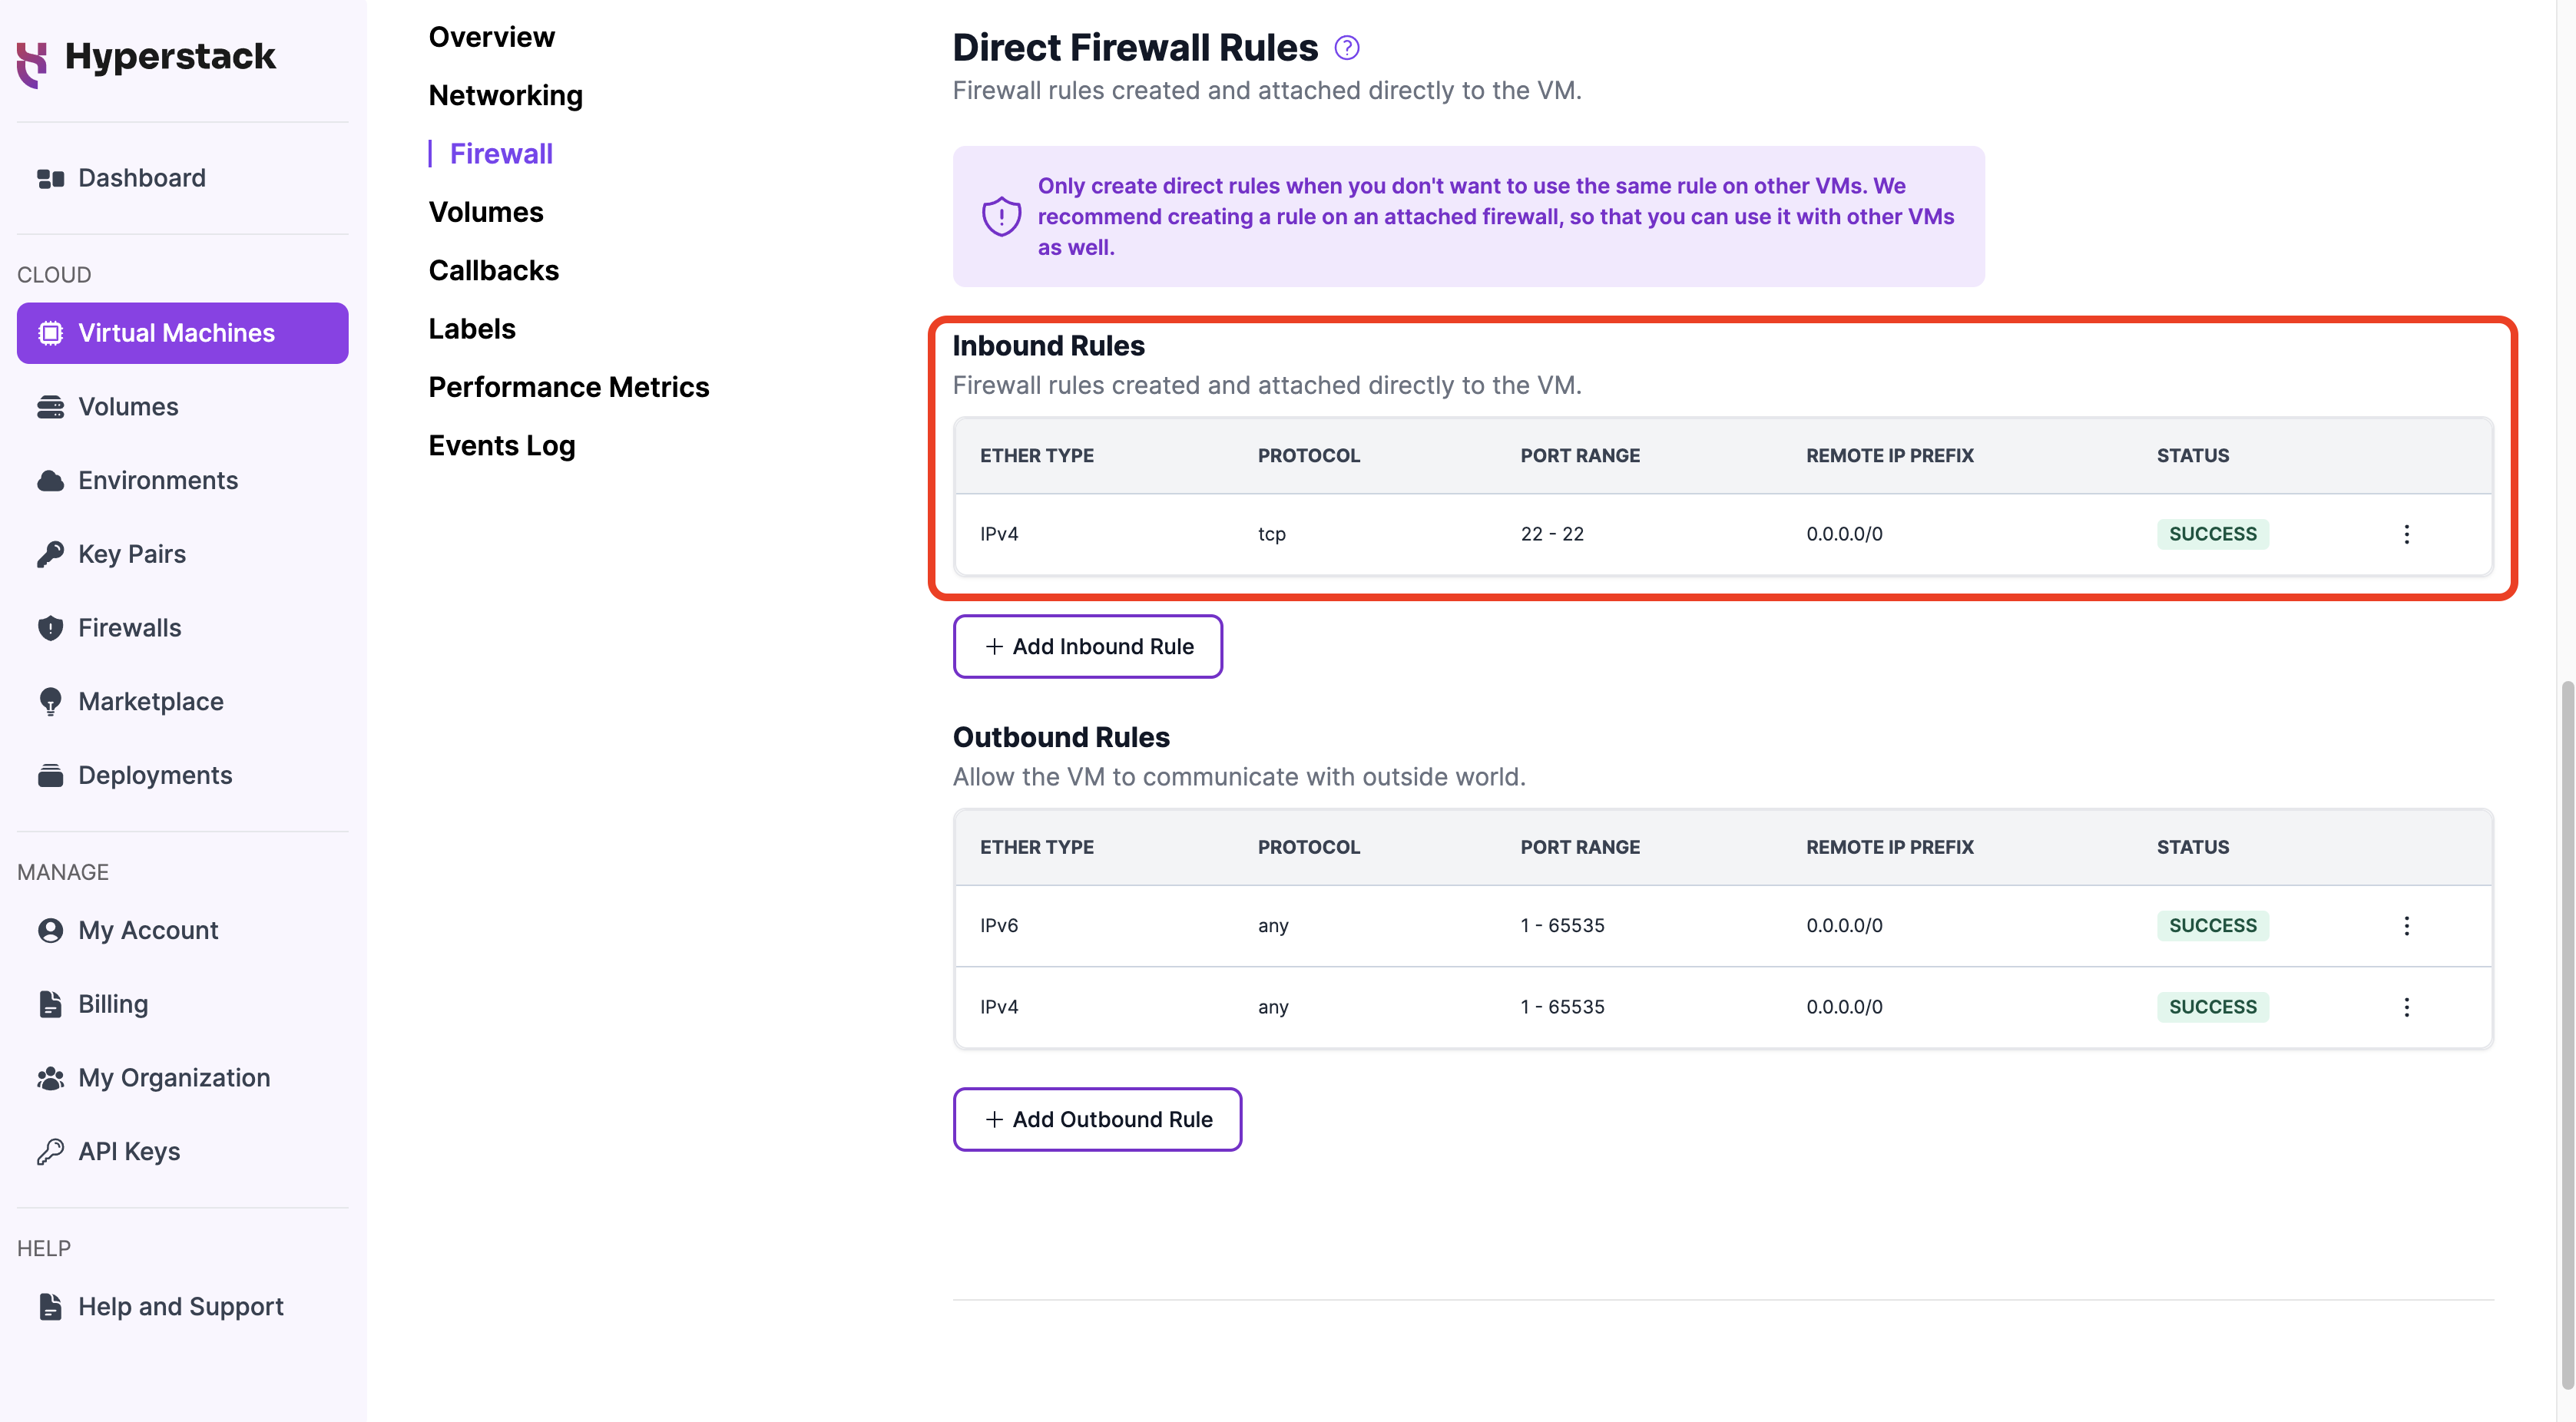
b. Click the 'Enable SSH access' button.
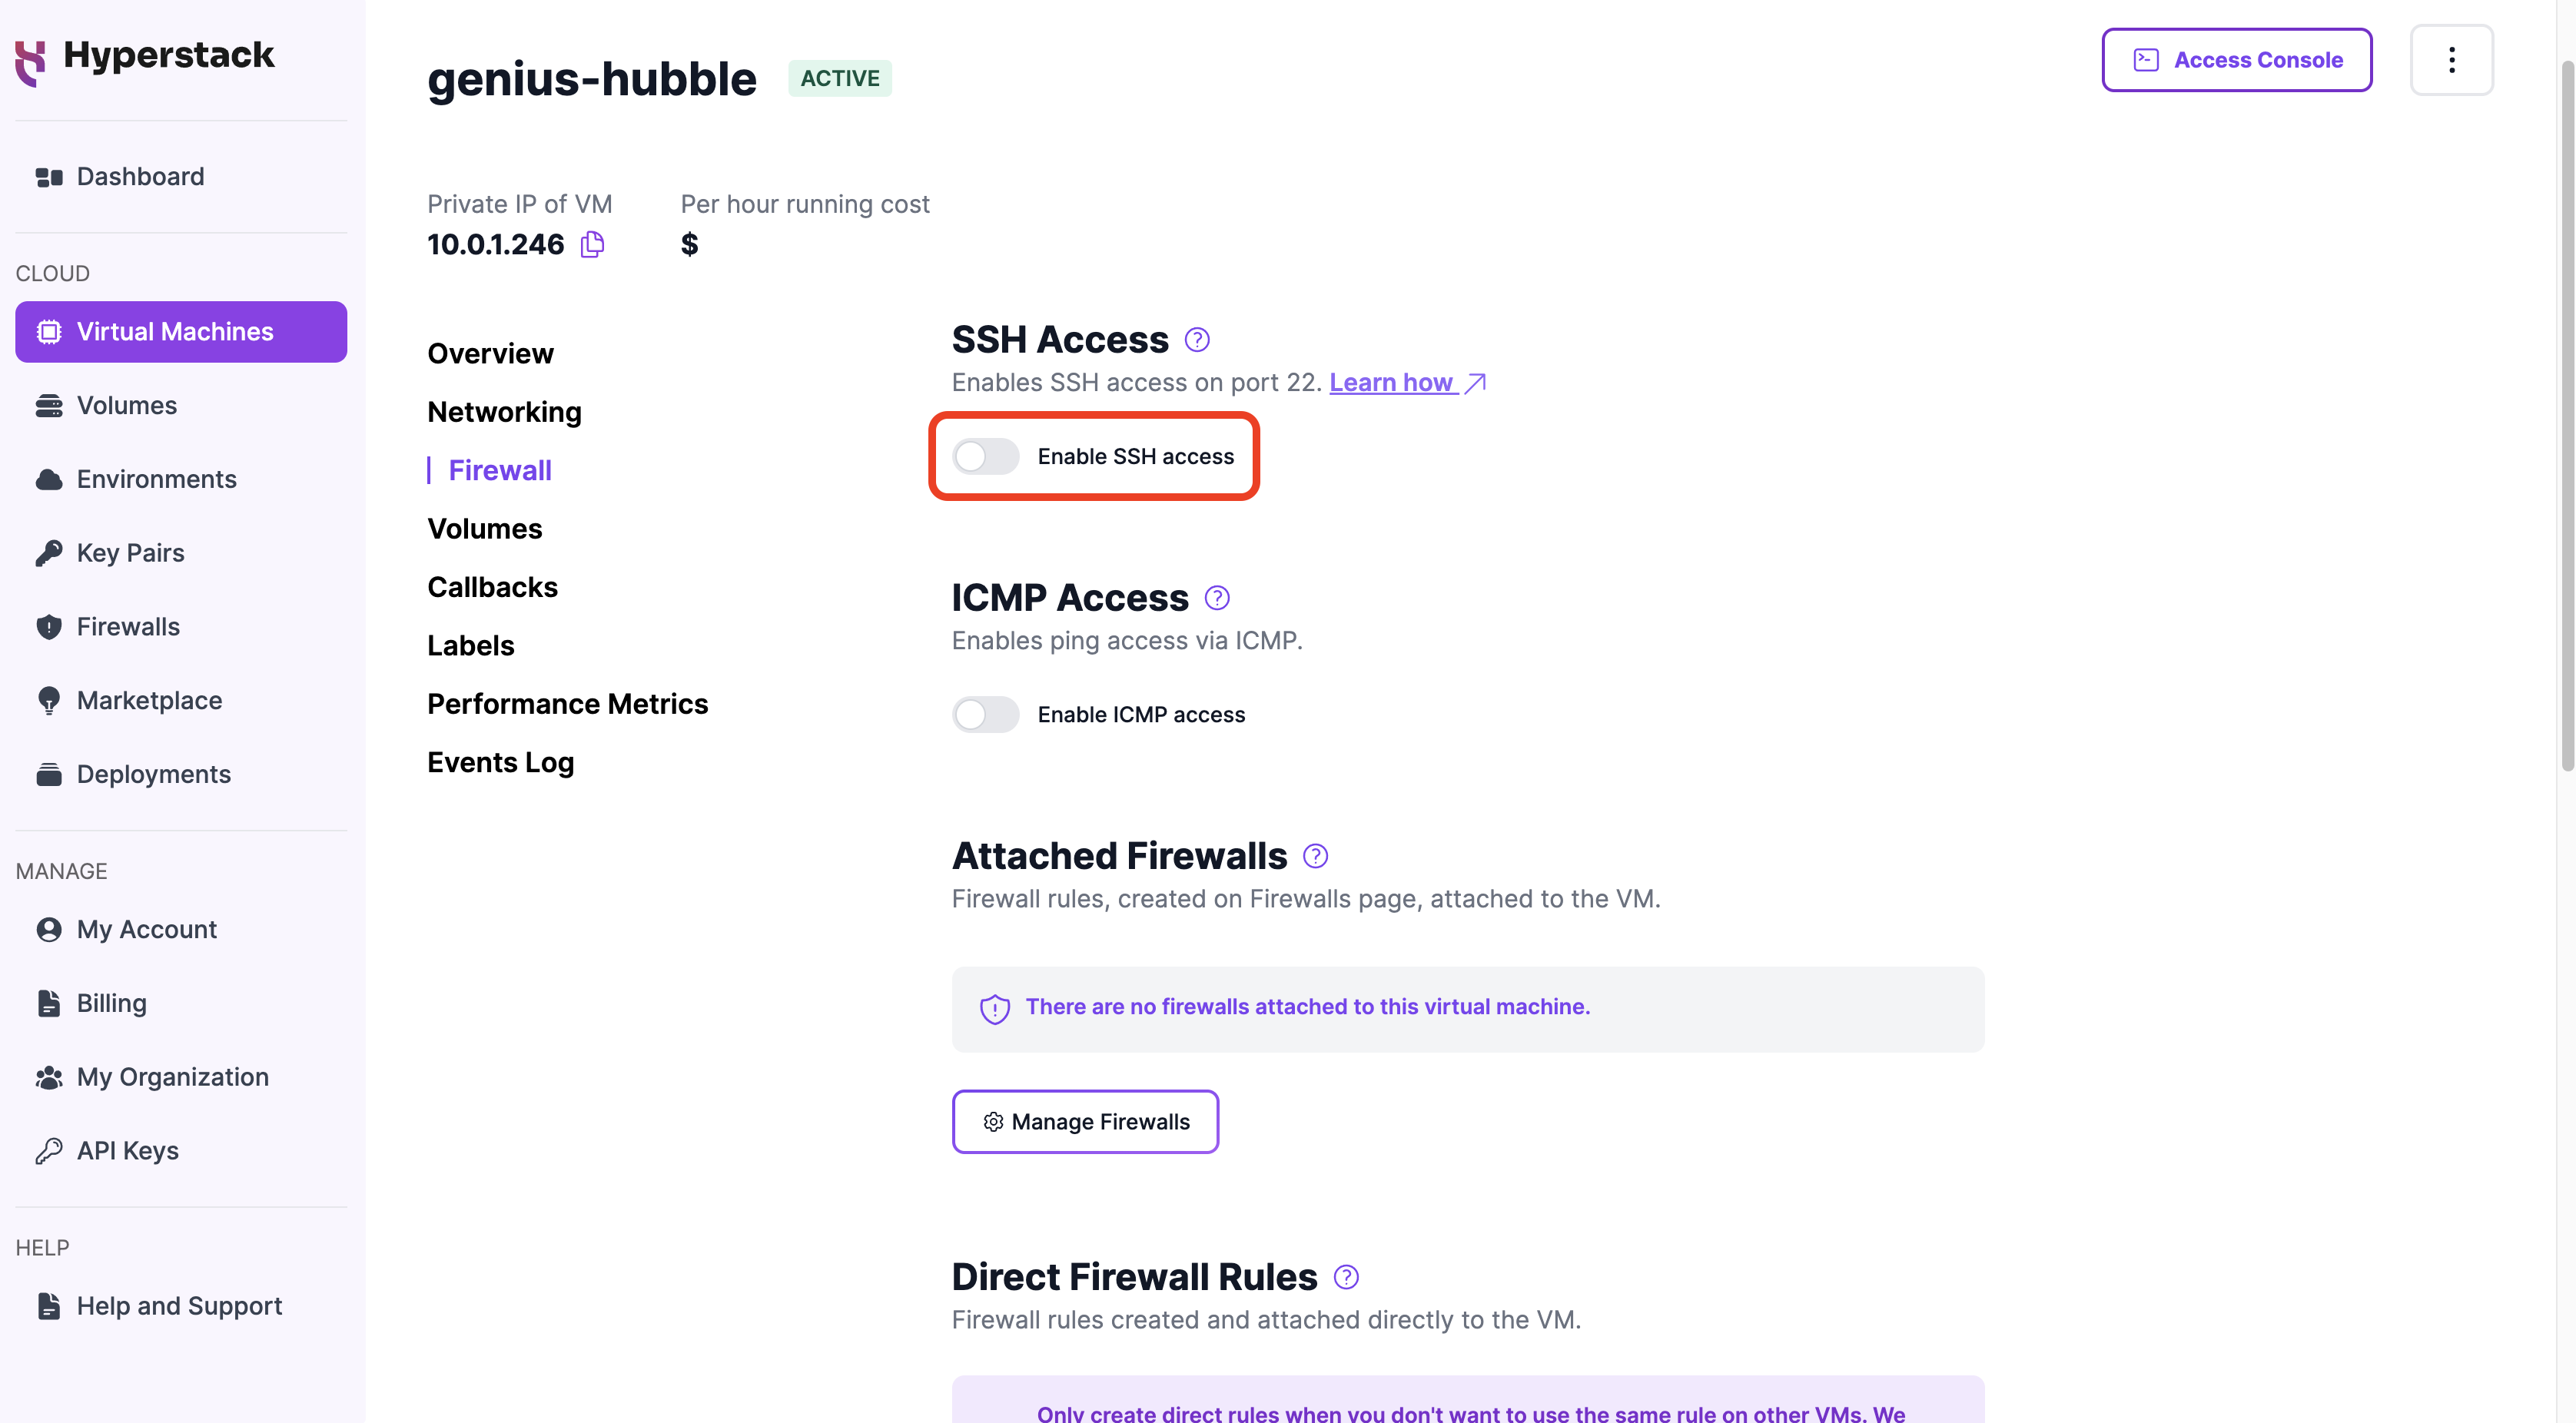
Enabling SSH access will automatically generate a firewall rule allowing incoming traffic from any IP (0.0.0.0/0) on port 22 via TCP, as illustrated below.
-
Verify port 22 connectivity:
Open a command prompt and use
telnetto check if the VM's port 22 is open:telnet [VM_Public_IP_Address] 22- Replace
[VM_Public_IP_Address]with the public IP address of the virtual machine you are trying to connect to.
If the port is open, you will see the following connection message. Proceed to step 5. Connect to your Ubuntu VM via SSH
Successful connectionTrying 149.36.0.98...
Connected to 149.36.0.98.If you are unable to connect, this means that the port is closed. Review your firewall settings to ensure the port is open by reviewing the steps outlined above.
Failed connectionTrying 149.36.0.88...
telnet: connect to address 149.36.0.88: Connection refused
telnet: Unable to connect to remote host - Replace
-
Connect to your Ubuntu VM via SSH:
Execute the following command in a terminal (such as Terminal, PowerShell, etc.):
ssh -i [path_to_ssh_key] ubuntu@[vm_ip_address]-
'
[path_to_ssh_key]' is replaced with the path to the SSH key that was generated in the 'Create SSH key' step. -
'
[vm_ip_address]' is replaced with the public IP address of your virtual machine, which you can find on the 'My Virtual Machines' page under the 'PUBLIC IP' column.
For example:
ssh -i ../_ssh_keys/example-key_hyperstack.txt [email protected]Output:
Successful connection should return the following welcome message including the Ubuntu version running on the VM.Welcome to Ubuntu 22.04.3 LTS (GNU/Linux 6.5.0-15-generic x86_64)
...You have successfully connected to your Ubuntu virtual machine via SSH.
-
-
Optional: Set a password for the root account
infoWe recommend accessing your VM via SSH, as it provides a more secure method than using a password-only connection. If you decide to set a password for your VM, make sure to choose a strong password to enhance security.
Run the following command to set a password for the root Ubuntu account. This will enable you to log in to the VM using a password via the VNC console for future sessions:
sudo passwdFollow the prompts to set your password:
New password:
Retype new password:
passwd: password updated successfully
Optional: Access a Ubuntu VM via VNC console
After successfully connecting to your Ubuntu VM via SSH and setting the root account password, you can log in to your VM using the root credentials directly via the VNC console in Hyperstack.
Accessing your VM via SSH is more secure than using a password-only connection through the VNC console.
Here’s how to connect to your Ubuntu VM through the VNC console:
-
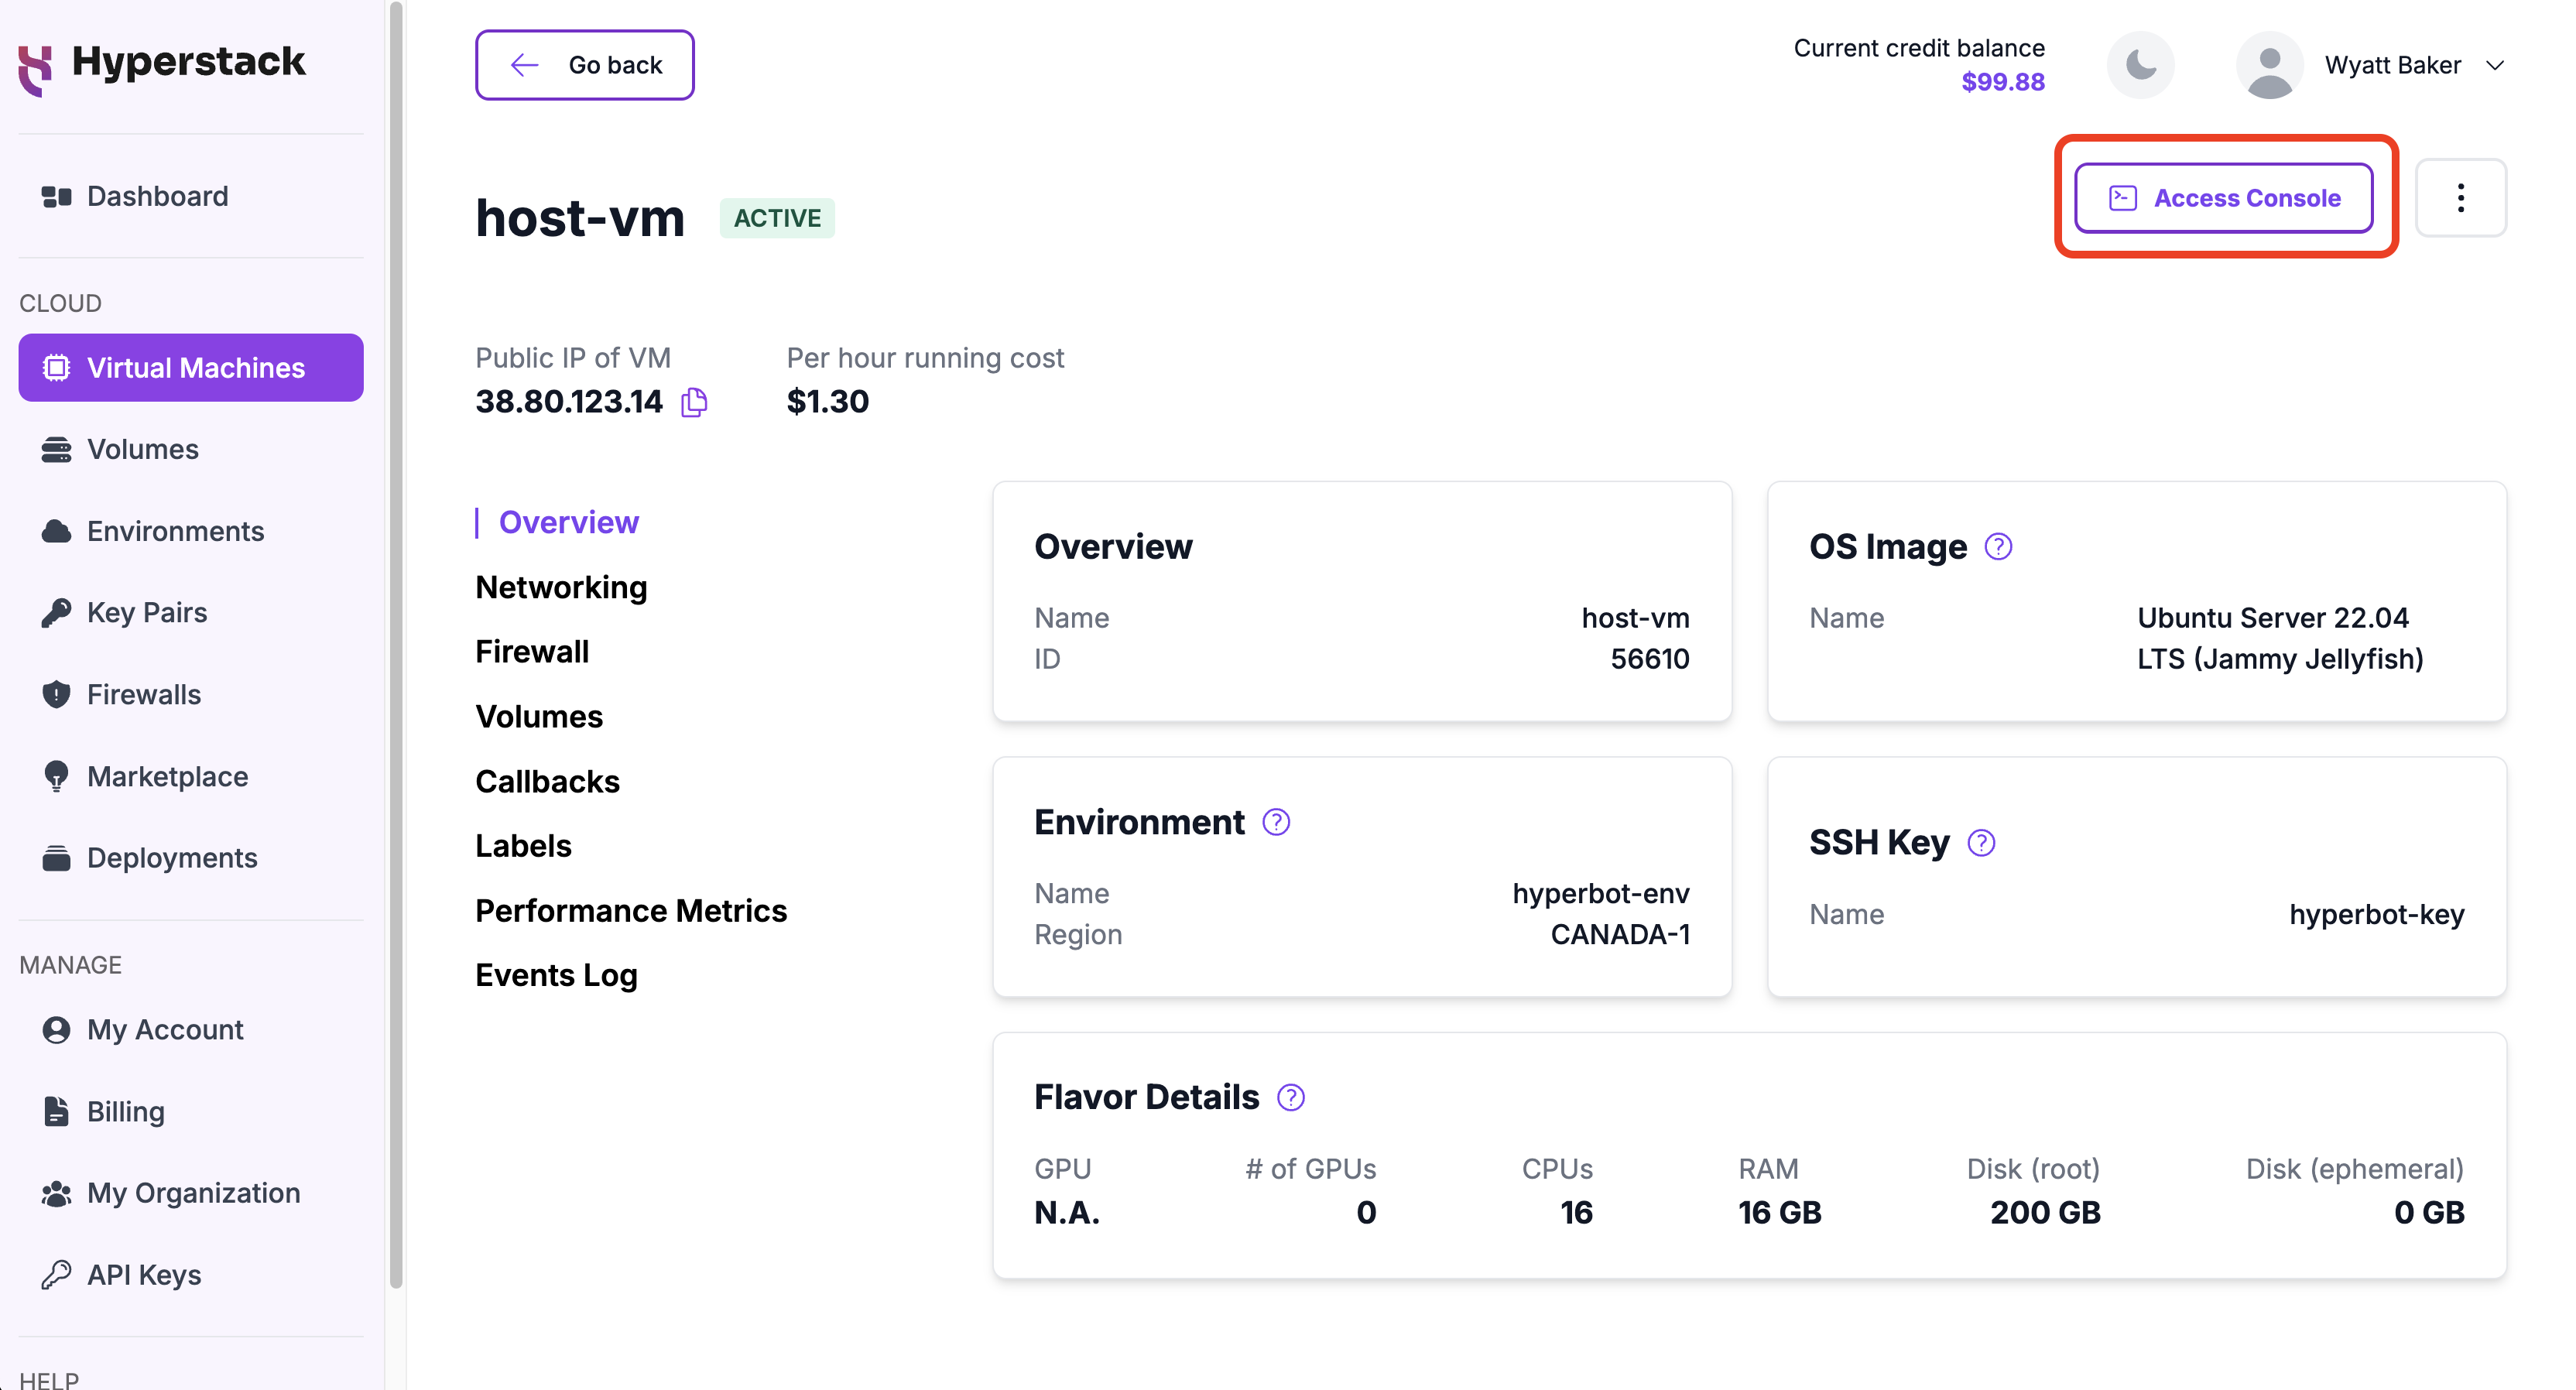
Access VNC console:
To view the VNC console for a virtual machine, navigate to the Virtual Machines section in Hyperstack, click on the VM name to access its details, and locate the VNC console button in the top right corner.
-
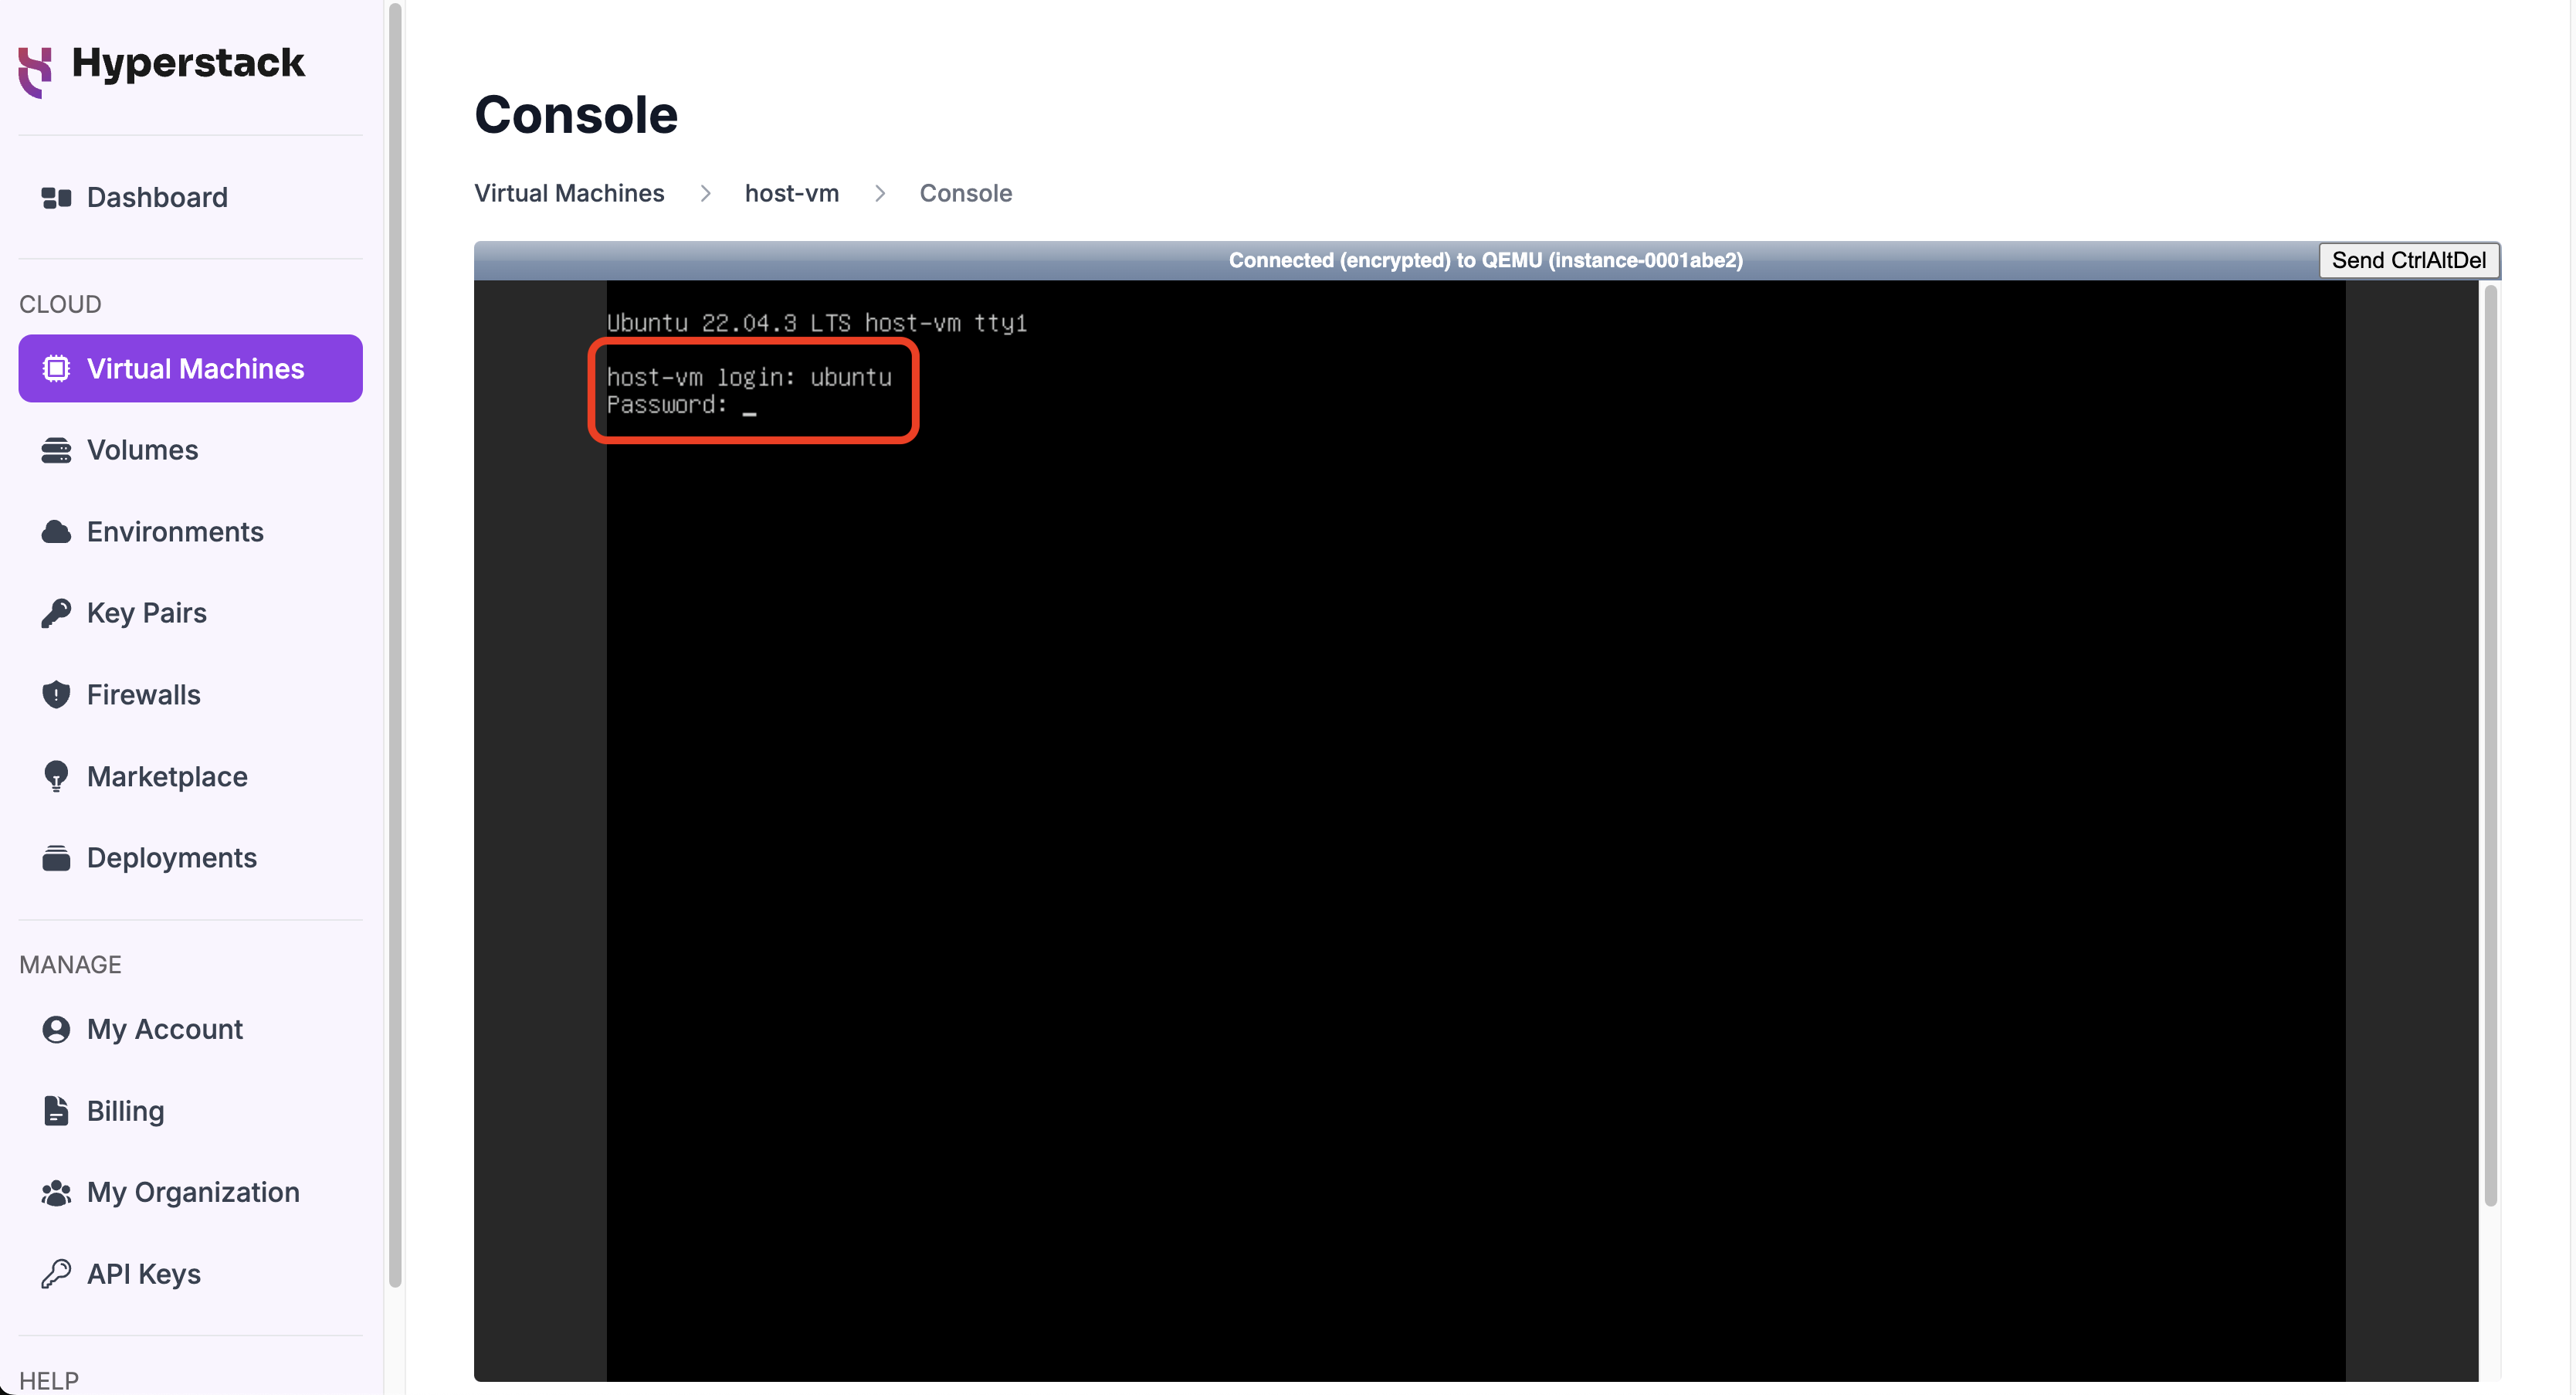
Login to Ubuntu VM within VNC console:
Use the credentials you configured:
- Username:
root - Password: The password you set for the root account during the SSH session.
Output:
Successful connection should return the following welcome message including the Ubuntu version running on the VM.Welcome to Ubuntu 22.04.3 LTS (GNU/Linux 6.5.0-15-generic x86_64)
... - Username:
You have successfully connected to your Ubuntu virtual machine via the VNC console.